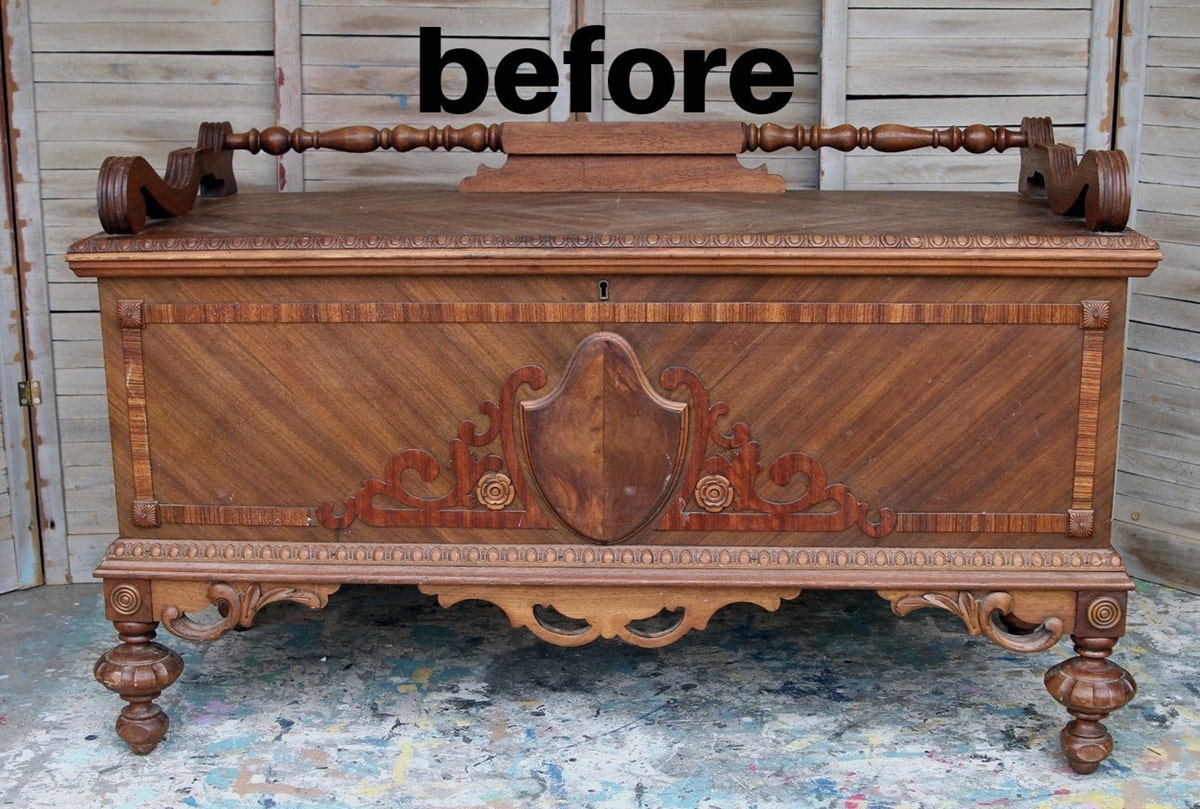
Clean, repair, sand, and refinish—small updates turn tired pieces into standouts.
If you want a fast, proven way to bring new life to a dresser, table, or chair, you are in the right place. I’ve refreshed hundreds of pieces for clients and my own home, and I’ll show you exactly How to Refresh Old Furniture with simple steps, smart tools, and pro tips that save time and money. We’ll cover what to fix, what to refinish, and how to protect your work so it lasts.
Assess Your Piece Like a Pro
Before you pick up a brush, look close. A good plan makes the job smooth and fast. This first step sets the tone for How to Refresh Old Furniture the right way.
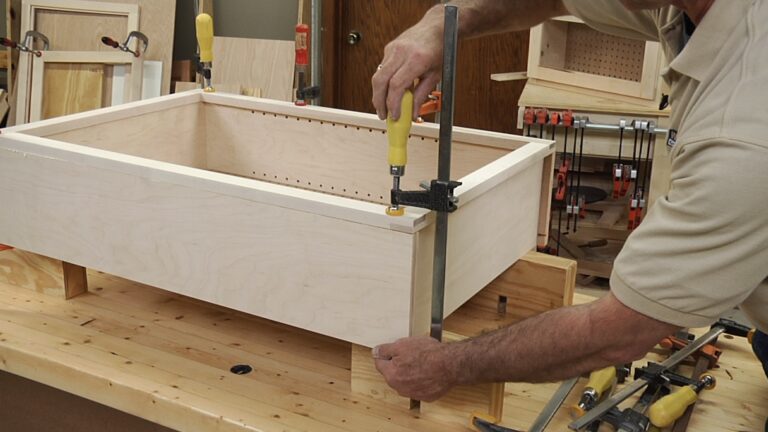
Check structure first. Rock the piece. Wiggle the legs and arms. Look for loose joints, missing screws, or cracked parts. If it sags or sways, plan to clamp and glue.
Look at the wood. Is it solid wood, veneer over plywood, or MDF? Veneer needs a lighter touch. Solid wood allows deeper sanding and stain changes.
Note the current finish. Is it glossy, sticky, or worn to bare wood? A glossy coat needs scuffing or a bonding primer. Old wax can stop paint from sticking.
Watch for red flags. Smell for mildew. Check drawers for musty paper. For pre-1978 paint, consider lead-safe work methods. Use a lead test kit if unsure.

Tools, Materials, and Safety Essentials
A short, smart tool list makes a big difference. The right gear will save your back and your budget when you plan How to Refresh Old Furniture.
Core tools:
- Screwdrivers, pliers, and a rubber mallet
- Wood glue, clamps, and a syringe for tight spots
- Putty knives and a card scraper
- Sandpaper in grits 80, 120, 180, 220
- A palm sander or sanding block
- Clean rags, microfiber cloths, and tack cloth
- Quality brushes and foam rollers
Prep and finish supplies:
- Degreaser or mild soap
- Mineral spirits for waxy buildup
- Shellac-based or bonding primer
- Paint, stain, or oil
- Filler, epoxy, and matching touch-up markers
- Topcoat like waterborne polyurethane or hardwax oil
Safety first:
- N95 or better mask when sanding
- Nitrile gloves and eye protection
- Ventilation and a safe finish-curing area
- If you suspect lead paint, follow EPA lead-safe rules and avoid dry sanding
Cleaning and Prep: The Make-or-Break Step
Great finishes start with clean surfaces. If you skip this, paint will fish-eye or peel. Cleaning is the secret move in How to Refresh Old Furniture.
Clean well:
- Vacuum dust and crumbs from drawers.
- Wash with a gentle degreaser. Wipe dry.
- For wax build-up, rub with mineral spirits and a cloth.
De-gloss the old finish:
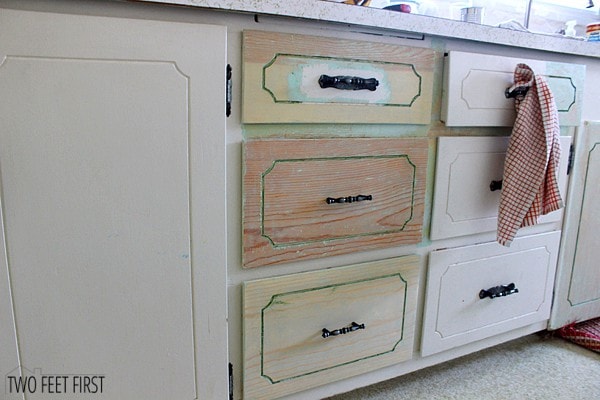
- Scuff sand with 120–180 grit for tooth.
- Wipe with a damp cloth, then a tack cloth.
- Fill dings and let dry. Sand smooth to 220.
Prime smart:
- Use shellac-based primer on tricky or tannin-rich woods like oak or mahogany.
- Use bonding primer over glossy finishes.
- Spot-prime repairs to seal filler and even sheen.
Personal tip: I keep a bright light at a low angle. It highlights scratches, missed dust, and uneven filler before paint locks them in.

Repairs That Last
Sturdy repairs look better and keep your work from failing later. Repairs are a key part of How to Refresh Old Furniture because finish cannot hide weak spots.
Tighten and glue:
- Pull joints apart if you can. Clean old glue from mortises and dowels.
- Use fresh wood glue. Clamp with even pressure. Wipe squeeze-out at once.
Fill and patch:
- Use wood filler for nail holes and small chips.
- Use epoxy for big chunks or missing corners. Shape it while soft.
- For veneer, re-glue loose edges with wood glue and a warm iron through kraft paper.
Fix function:
- Wax drawer runners with a candle or paste wax.
- Replace missing glides. Add felt pads to stop wobble.
- Straighten bent hinges and square doors before you paint.
Anecdote: I saved a $30 thrift dresser by rebuilding a busted corner with epoxy, sanding it crisp, then painting. No one ever notices the fix, even up close.

Choose Your Finish Strategy
Pick a finish that suits how you live and how you like to work. This is where style meets skill in How to Refresh Old Furniture.
Paint: Fast Transformations
Paint hides mixed woods and repairs. It is the most forgiving path.
- Prime first. Then apply two thin coats of high-quality enamel or acrylic.
- Level the coat with a foam roller on flat areas, brush in corners.
- Lightly sand between coats with 220 grit. Wipe dust.
Pro tip: For oak grain you want to hide, skim on a thin coat of wood filler or high-build primer, sand smooth, then paint.
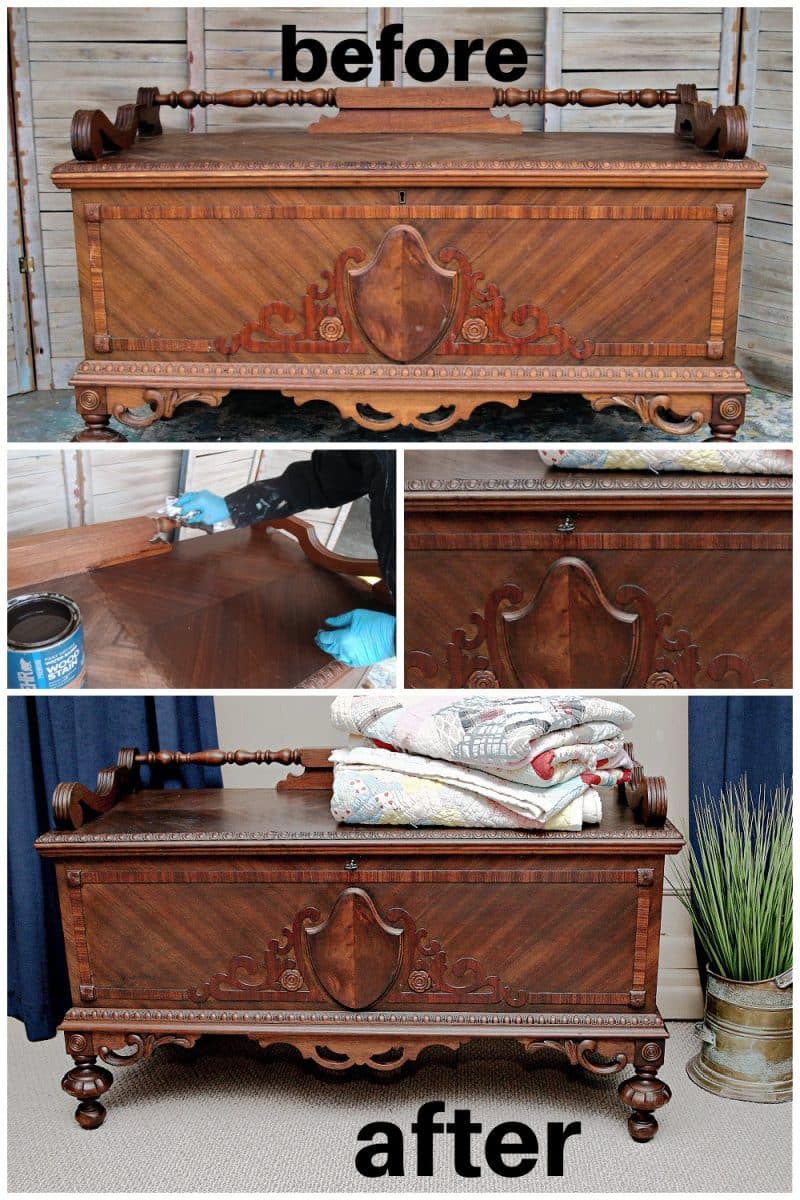
Stain: Warm, Natural Grain
Stain keeps the wood story alive.
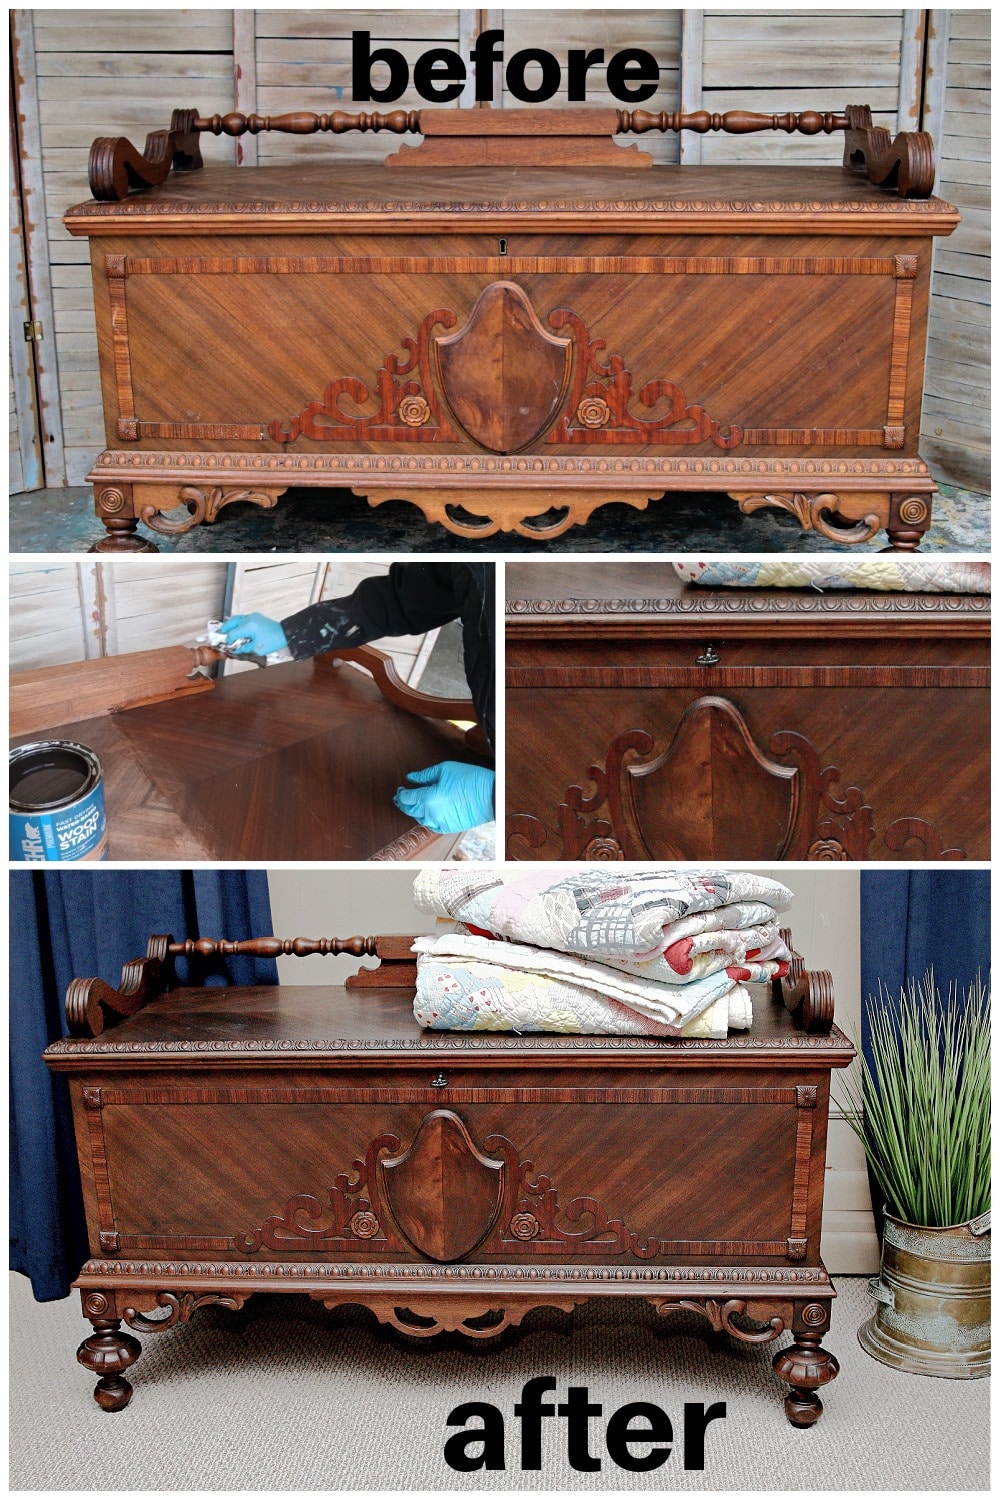
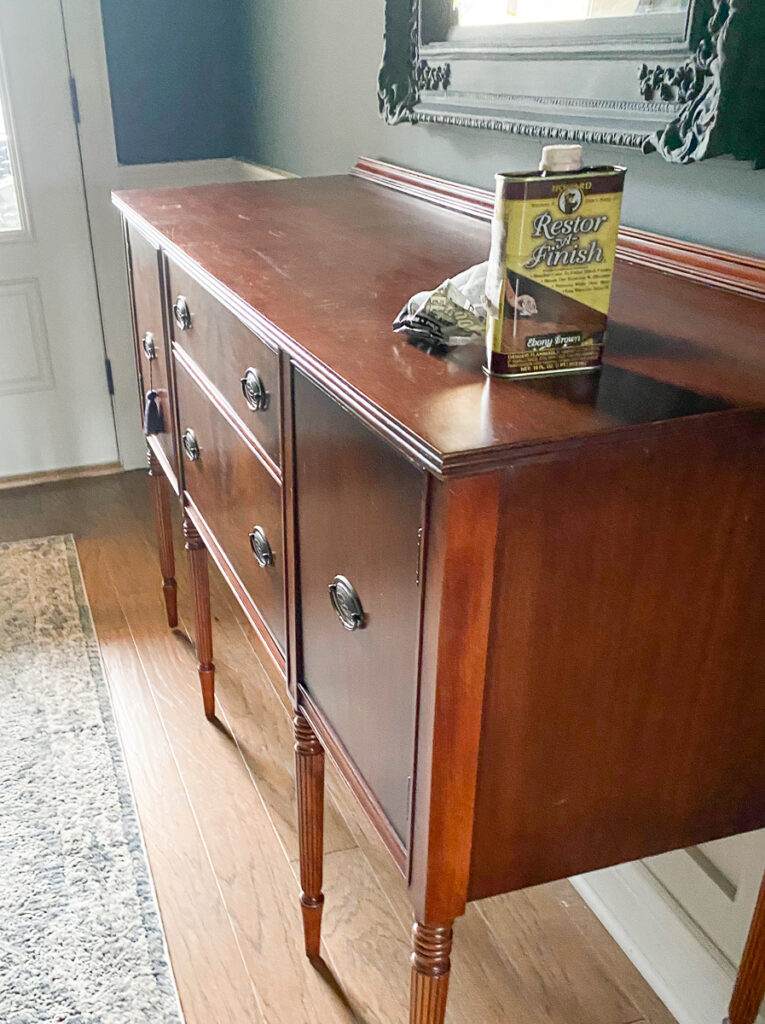
- Sand to bare wood. End at 180–220 grit for even color.
- Apply stain with a rag. Wipe off after a few minutes.
- Seal with a clear topcoat once dry.
Note: Some hardwoods blotch. Use a pre-stain conditioner to even absorption.
Oils and Waxes: Soft, Low-Sheen Looks
These feel great and are easy to refresh later.
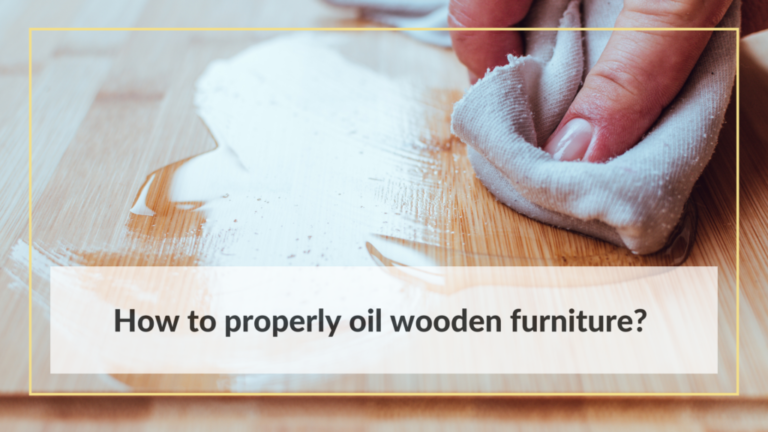
- Danish oil or hardwax oil enhances grain and adds protection.
- Wipe on thin coats. Buff off excess. Let cure as directed.
- Add a wax top-up as needed for glow and slip.
Specialty Effects
- Limewash or cerusing highlights open grain.
- Color wash thins paint with water for a see-through look.
- Whitewash softens heavy orange pine tones.
Topcoats:
- Waterborne polyurethane is clear, low odor, and tough.
- Oil poly adds a warm tint and deep shine.
- Let all finishes cure as the label states before heavy use.

Hardware, Upholstery, and Small Upgrades
Small swaps can change the whole vibe for little cash. This step is the fun part of How to Refresh Old Furniture.
Hardware:
- Clean real brass with a gentle polish. Seal with clear lacquer to hold the shine.
- Try new knobs or pulls for a modern or vintage look.
- Use a template to keep holes aligned.
Upholstery:
- For drop-in seats, remove staples, add new foam, and wrap with fresh fabric.
- Use a heavy-duty stapler. Pull fabric tight and smooth at corners.
- For caning or tufting, gauge your skill and time. Some jobs are best for a pro.
Finishing touches:
- Line drawers with removable paper.
- Add felt pads under legs.
- Install soft-close bumpers for doors and lids.
Styling, Protection, and Maintenance
Protect your work so it stays fresh for years. Care is a final chapter in How to Refresh Old Furniture.
Simple rules:
- Let finishes cure. Many paints need 7–30 days to harden fully.
- Use coasters and mats. Heat and water can mark new coats.
- Clean with a damp cloth and mild soap. Skip harsh cleaners.
Ongoing care:
- Add a thin wax coat every six to twelve months for painted or oil-finished tops.
- Tighten hardware now and then.
- Touch up chips with a small artist brush and saved paint.
Real-world tip: I set a 30-day “no heavy use” window for dining tables. It feels strict, but it prevents rings and dents while the finish reaches peak hardness.
Budget, Timeline, and Sustainable Wins
Know your numbers and your why. Saving a piece is good for your wallet and the planet. This helps frame How to Refresh Old Furniture as a smart habit, not just a hobby.
Typical costs:
- Cleaner, sandpaper, filler: small budget
- Primer, paint or stain, topcoat: modest budget
- New hardware or foam: varies by style
Time guides:
- Nightstand or chair: one weekend
- Dresser or table: one to two weekends
- Large hutch: plan several short sessions
Sustainability:
- Keep furniture out of landfills by renewing it.
- Choose low-VOC finishes when you can.
- Dispose of rags and solvents safely. Store oil-soaked rags in a metal can with water until you can discard them as directed.

Frequently Asked Questions of How to Refresh Old Furniture
What is the easiest way to start if I am new?
Begin with a small side table. Clean, scuff sand, prime, and paint with a quality enamel. You will learn the full cycle without feeling overwhelmed.
Do I need to strip old finishes before painting?
Not always. If the old finish is sound, clean well, scuff sand, and use a bonding or shellac primer. Strip only when the finish is failing or you want to stain.
How can I tell if my piece has veneer?
Look at the edges. Veneer shows a thin layer on top of a different core. Sand lightly and avoid cutting through the thin face.
How long should I wait before using my refreshed furniture?
Dry time and cure time differ. Many paints are dry in hours but need 7–30 days to cure. Be gentle early on to avoid dents and rings.
What is the best topcoat for a dining table?
Use a tough, waterborne polyurethane for clear protection and low odor. Apply thin coats, sand lightly between, and allow full cure before heavy use.
Can I refresh furniture without sanding?
Yes, if you clean well and use a strong deglosser and bonding primer. Still, a light scuff sand improves adhesion and is worth the few extra minutes.
How to Refresh Old Furniture on a tight budget?
Reuse hardware, choose sample-size paints for small pieces, and shop secondhand for tools. Focus on deep cleaning, repairs, and a solid primer for the biggest impact.
Conclusion
You now have a clear plan to clean, repair, prep, and refinish any piece with confidence. From primer choice to topcoat care, you know How to Refresh Old Furniture in a way that looks great and lasts.
Pick one item this week and start. Take photos, track your steps, and learn as you go. Share your project, subscribe for more tips, and tell me what you want to tackle next.