Mount LED strips or bars, route wires, connect power, secure, and test.
If you want a bright, clean kitchen without bulky fixtures, this guide is for you. I’ll show you how to install under cabinet lighting like a pro, using simple steps, tested tips, and clear photos-in-your-mind advice. You’ll learn how to plan, choose the right products, and wire safely so your space looks polished and feels great every day. By the end, you’ll know exactly how to install under cabinet lighting with confidence.
Why Under Cabinet Lighting Matters
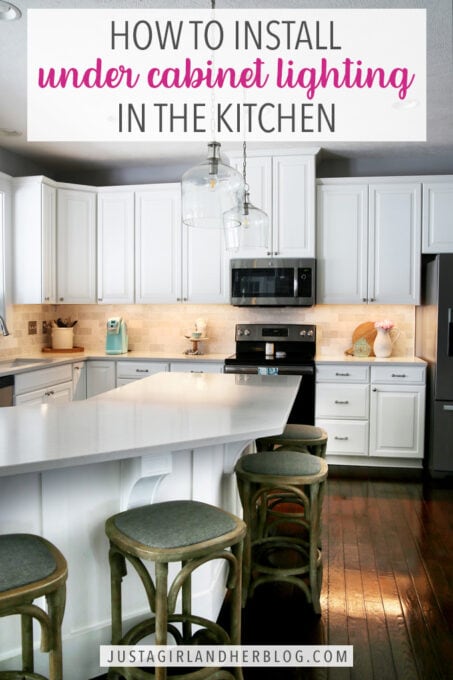
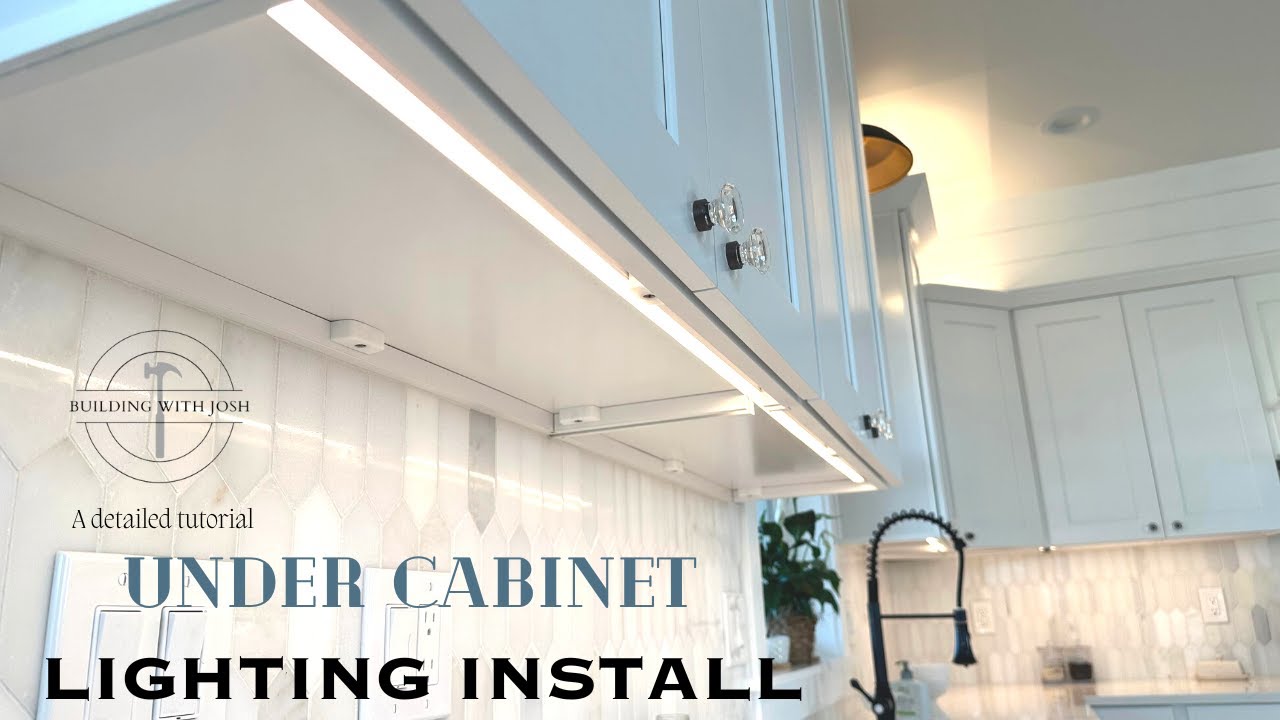
Under cabinet lighting makes counters safer and food prep easier. It removes shadows, highlights backsplashes, and adds a soft glow at night. The right setup saves energy, boosts home value, and looks sleek.
There are limits. Poor placement causes glare. Cheap strips can show dots on glossy counters. Bad wiring can flicker or fail. I’ll cover how to install under cabinet lighting the right way, with the details pros watch.
Plan Your Project
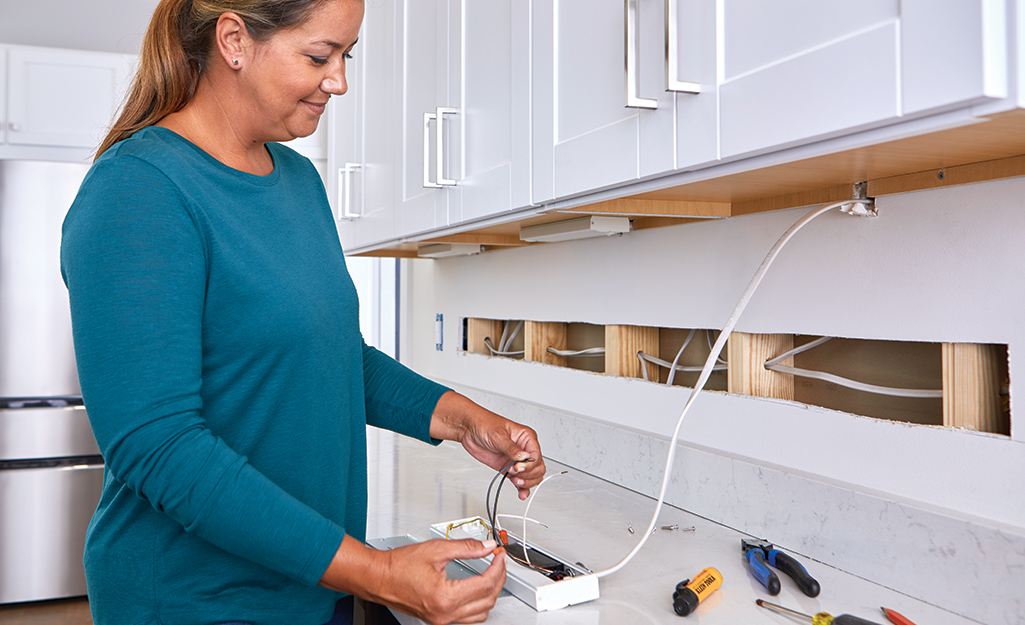
Good light starts with a plan. Map your cabinets, outlets, and switch locations. Decide how you use the space. Then match the layout to the lights and power.
Key choices to make:
- Where you prep, read recipes, or display decor. Place light here first.
- Where you will hide wires. Use the cabinet lip and corners.
- How you will turn lights on. Switch, dimmer, or smart control.
Specs that matter:
- Brightness: 250 to 400 lumens per foot for task light.
- Color temperature: 2700K to 3000K looks warm. 3500K to 4000K looks crisp.
- Color quality: CRI 90+ makes food and finishes look true.
- Beam angle: Wide for even counters. Narrow beams cause hot spots.
Pro tip from the field: Measure each cabinet run. Add at least 1 inch of space before any stove or sink. This keeps heat and steam away from drivers and connectors. Careful planning now makes how to install under cabinet lighting much faster later.
Choose Your Lights
You have three common types. Each has a sweet spot.
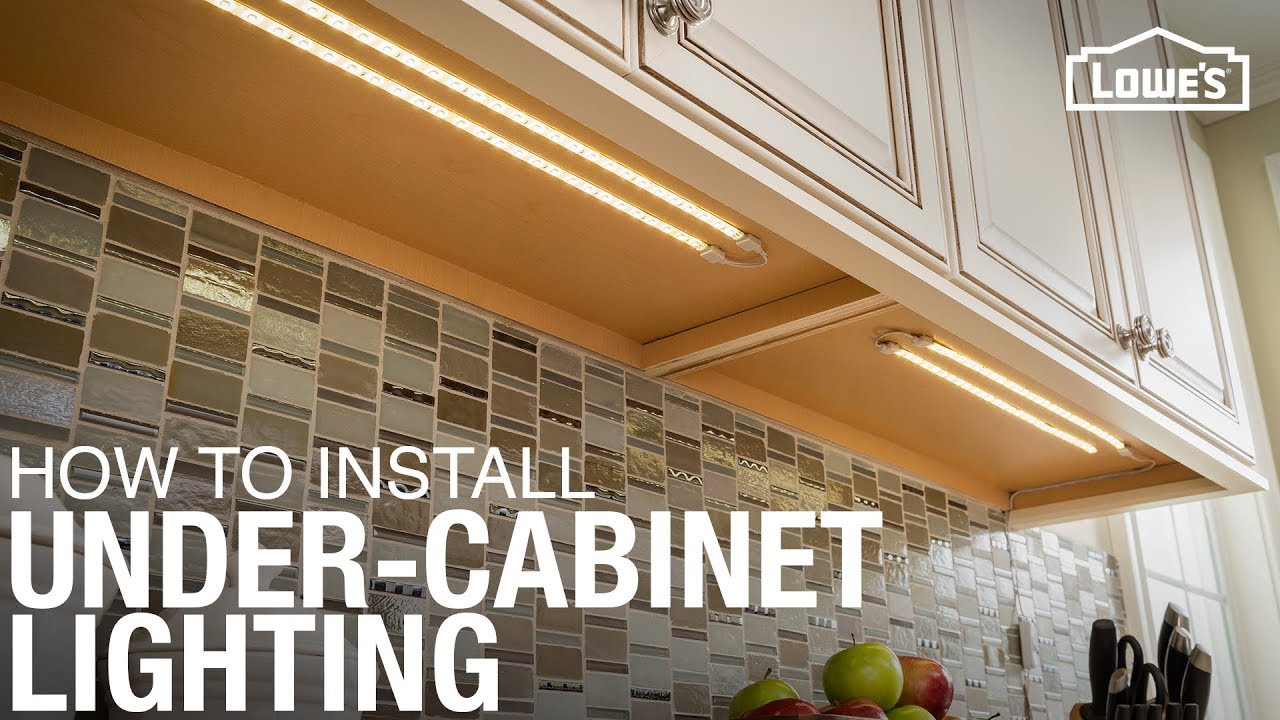
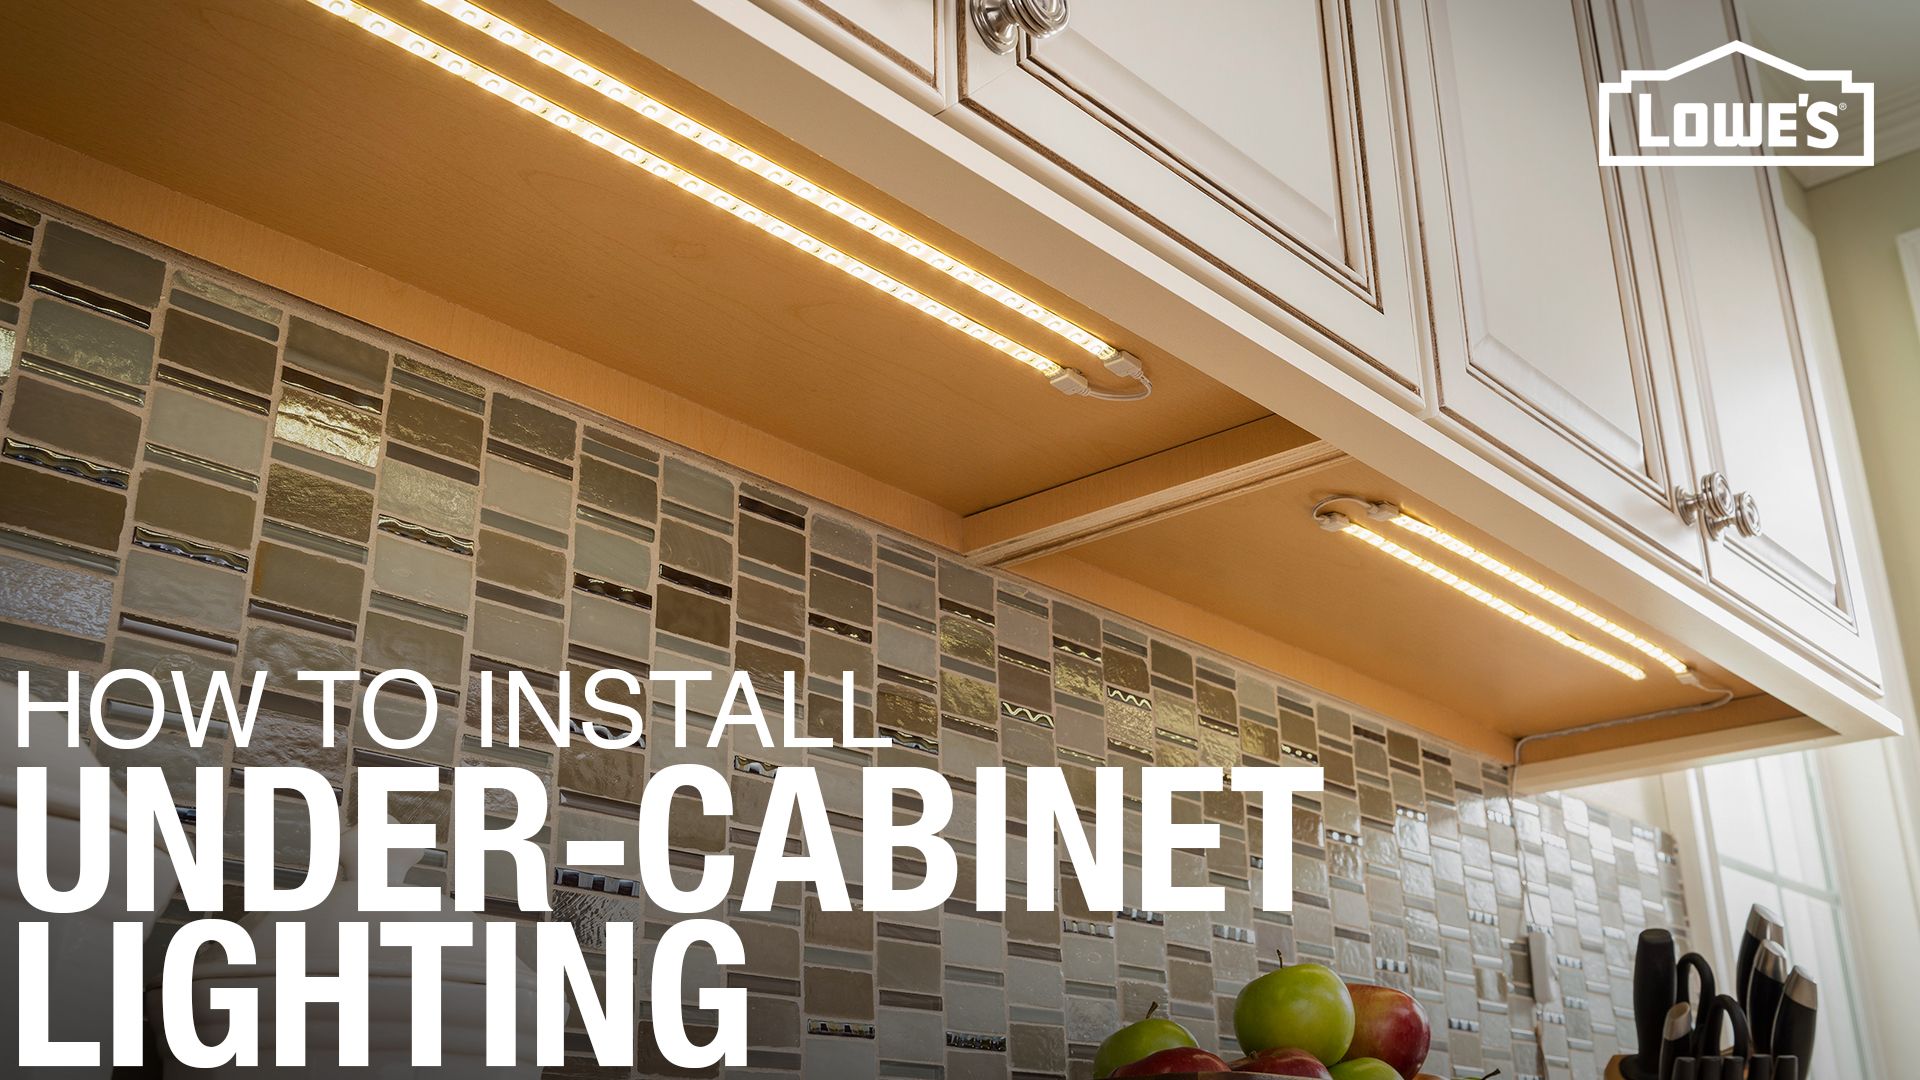
LED strip lights
- Best for even, shadow-free light.
- Great under long runs and shallow lips.
- Use aluminum channels with diffusers for a smooth line of light.
LED light bars
- Rigid and durable, fast to mount.
- Even output with built-in diffusion.
- Easy to link in series.
Puck lights
- Small round spots for accents or glass cabinets.
- Use for highlights, not full task light.
What to check before you buy:
- UL or ETL listing for safety.
- Warranty of at least 3 years (5 is better).
- Dimmable with listed dimmers.
- Low-voltage driver capacity that matches your total watts.
Tip: Count watts per foot for strips. Multiply by total feet. Add 20% headroom when you size the driver. This helps you avoid dimming drop or overheating. These choices shape how to install under cabinet lighting so it lasts.
Power and Wiring Options
You can power lights three ways. Pick what fits your skill and kitchen.
Plug-in
- Easiest for DIY. Use a nearby outlet.
- Add a cord channel to hide wire runs.
- Use a plug-in dimmer or smart plug for control.
Hardwired
- Clean look. No visible cords.
- May need a new switched circuit and a permit.
- Have a licensed electrician tie into house power.
Battery or rechargeable
- No wires at all.
- Lower brightness and shorter run time.
- Good for renters or quick installs.
Low-voltage basics:
- Most systems are 12V or 24V DC with a driver. 24V works better on long runs.
- Keep wire runs short to avoid voltage drop.
- Use Class 2 drivers and 18–22 AWG low-voltage cable as rated.
When you learn how to install under cabinet lighting, the power plan is the backbone. Choose it early to avoid extra holes and rework.
Tools and Materials Checklist
Have everything ready before you start.
Tools
- Measuring tape and pencil
- Level and square
- Wire stripper and small screwdriver
- Drill with 3/8 inch to 1/2 inch bit
- Non-contact voltage tester
- Safety glasses and gloves
Materials
- LED strips or bars, plus channels and diffusers
- Low-voltage driver and connectors
- 18–22 AWG low-voltage cable
- Cable clips or adhesive raceway
- Isopropyl alcohol and lint-free cloth
- Screws sized for cabinet bottoms
- Dimmer, smart switch, or control module
This kit speeds up how to install under cabinet lighting and keeps your work neat.

Safety, Codes, and Permits
Safety first. Turn off power at the breaker before any hardwiring. Test with a non-contact voltage tester. If you are not sure, hire a licensed electrician.
Follow these basics:
- Use UL or ETL listed fixtures and drivers.
- Kitchen outlets often need GFCI and AFCI protection.
- Keep drivers away from heat and steam.
- Follow the National Electrical Code and local rules.
- Mount strips on aluminum channels for heat control.
Being code-smart is part of how to install under cabinet lighting you can trust.

Step-by-Step: How to Install Under Cabinet Lighting
This method works for most low-voltage LED strips or bars with a single driver.
- Plan and mark
- Mark light positions 1 to 2 inches behind the cabinet lip.
- Mark wire path and driver location. Keep the driver in a base cabinet, pantry, or above the cabinets with airflow.
- Prep surfaces
- Clean the cabinet bottoms with isopropyl alcohol.
- Dry fully. Adhesive and tape need a clean surface.
- Mount channels or bars
- Cut channels to length with a fine saw.
- Pre-drill and screw channels in place. Snap in diffusers after wiring.
- Run low-voltage cable
- Drill small holes through cabinet sides near the back.
- Fish cable neatly. Use clips or raceway to hide wires.
- Place strips or bars
- For strips, press into channels. Do not bend around sharp corners.
- For bars, mount with screws or clips as per the manual.
- Make connections
- Connect lights to jumpers or bar link cables.
- Observe polarity. Match positive to positive, negative to negative.
- Wire the driver
- With power off, connect the driver’s 120V side to the switch or outlet.
- Connect the 12V or 24V side to your light run. Tighten terminals.
- Add dimmer or control
- Install a compatible wall dimmer or in-line dimmer.
- For smart, pair the module and test scenes.
- Test and aim
- Turn on power. Check for flicker, dark spots, or glare.
- Shift positions a little if you see dots on shiny counters.
- Finish and tidy
- Snap on diffusers. Tuck wires into channels.
- Label the driver with output and date for future service.
I learned the hard way that skipping channels can show LED dots on quartz. I fixed it with diffusers and a small setback from the front lip. These real-life tweaks are why how to install under cabinet lighting is more art than it first seems.

Dimming, Color, and Smart Controls
Great control makes great light. Use a low-end trim on your dimmer to avoid shimmer. Pair warm color for cozy dinners and neutral white for prep.
Good options:
- Wall dimmer matched to your driver
- Smart switch or plug for voice and scenes
- Tunable white kits if you like warm-to-cool control
I often set scenes like Prep, Dinner, and Nightlight. This makes how to install under cabinet lighting feel built-in and premium.

Troubleshooting, Maintenance, and Upgrades
If things go wrong, start simple.
Common issues
- Flicker: Check dimmer compatibility and tight connections.
- Dark end of run: You may have voltage drop. Use 24V or feed from both ends.
- Hot spots: Add channels with diffusers or move the strip back.
Care tips
- Wipe with a dry cloth. Avoid harsh cleaners.
- Keep drivers clear for airflow.
- Replace a bad section with the same voltage and color temp.
As you improve how to install under cabinet lighting, you may add a second feed or a better driver. Small changes make big gains.
Cost, Budget, and Time Planning
Typical ranges for a mid-size kitchen:
- DIY materials: 120 to 450 dollars for quality strips or bars, channels, and a driver
- Dimmer or smart control: 20 to 120 dollars
- Electrician labor (if hardwiring): 150 to 600 dollars
Time plan:
- Design and shopping: 1 to 2 hours
- Install for plug-in: 1 to 2 hours
- Install for hardwired: 2 to 4 hours plus permit time
Choose reliable parts. Cheap kits often fail early. Spending a bit more can save time and money when you learn how to install under cabinet lighting that lasts.
Common Mistakes and Pro Tips
Avoid these traps:
- Mounting too close to the front lip. You’ll see glare on shiny counters.
- Skipping aluminum channels. Heat shortens LED life.
- Undersizing the driver. Add 20% headroom.
- Mixing color temps. Your counters will look patchy.
- Leaving wires loose. Use clips and raceways.
Pro tips from installs I’ve done:
- Use 24V for long runs to cut voltage drop.
- Hide the driver near the fridge panel or in a base cabinet toe-kick.
- Pre-test on the counter before you mount. Adjust placement until it looks even.
- Photograph the wiring and driver labels for future service.
- Keep spare connectors and a short strip section for quick fixes.
These simple habits make how to install under cabinet lighting smooth and stress-free.
Frequently Asked Questions of How to Install Under Cabinet Lighting
What is the best type of under cabinet light for most kitchens?
LED strips in aluminum channels give the most even light. Light bars are a close second and install fast.
Can I hardwire under cabinet lighting myself?
If laws allow and you know electrical work, yes. If not, hire a licensed electrician for safety and code compliance.
How bright should under cabinet lights be?
Aim for 250 to 400 lumens per foot for task light. Use dimming to set softer levels for night.
Do I need a special dimmer for LED under cabinet lights?
Yes, use a dimmer that matches your driver or fixture type. Check the manufacturer’s compatibility list to avoid flicker.
How do I hide the wires?
Use cabinet lips, corner gaps, and slim raceways. Drill small holes at the back of cabinets and run wires neatly with clips.
What color temperature looks best in a kitchen?
Warm white (2700K to 3000K) feels cozy. Neutral white (3500K to 4000K) looks crisp and bright for prep.
Why are my lights dim at the far end?
This is voltage drop. Use 24V systems, heavier gauge wire, or feed power from both ends.
Conclusion
You now know how to plan, power, and place clean, even light where you need it most. With smart choices, careful wiring, and a few pro tips, you can master how to install under cabinet lighting and make your kitchen shine.
Ready to get started? Pick your lights, map your run, and install the first section today. If this guide helped, subscribe for more step-by-step home upgrades or leave a comment with your setup and questions.