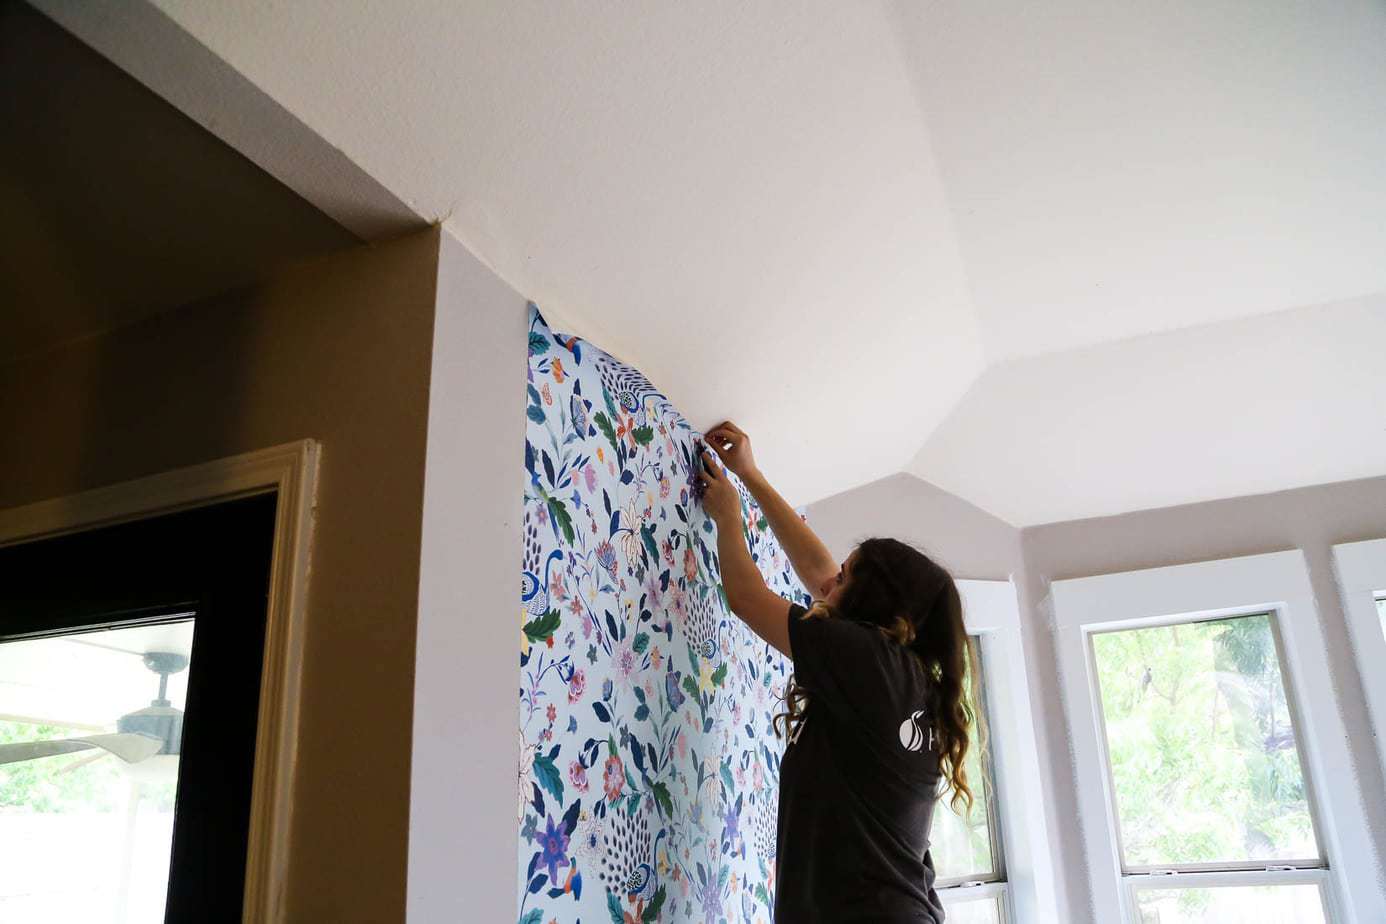
Measure, prep, cut, and hang straight—clean seams make wallpaper look pro.
If you want a crisp, designer look, this guide shows you How to Install Wallpaper the right way. I have hung hundreds of rolls in real homes, on rough plaster and brand-new drywall. I will share simple steps, pro tips, and fixes so you can work with confidence and avoid common errors.
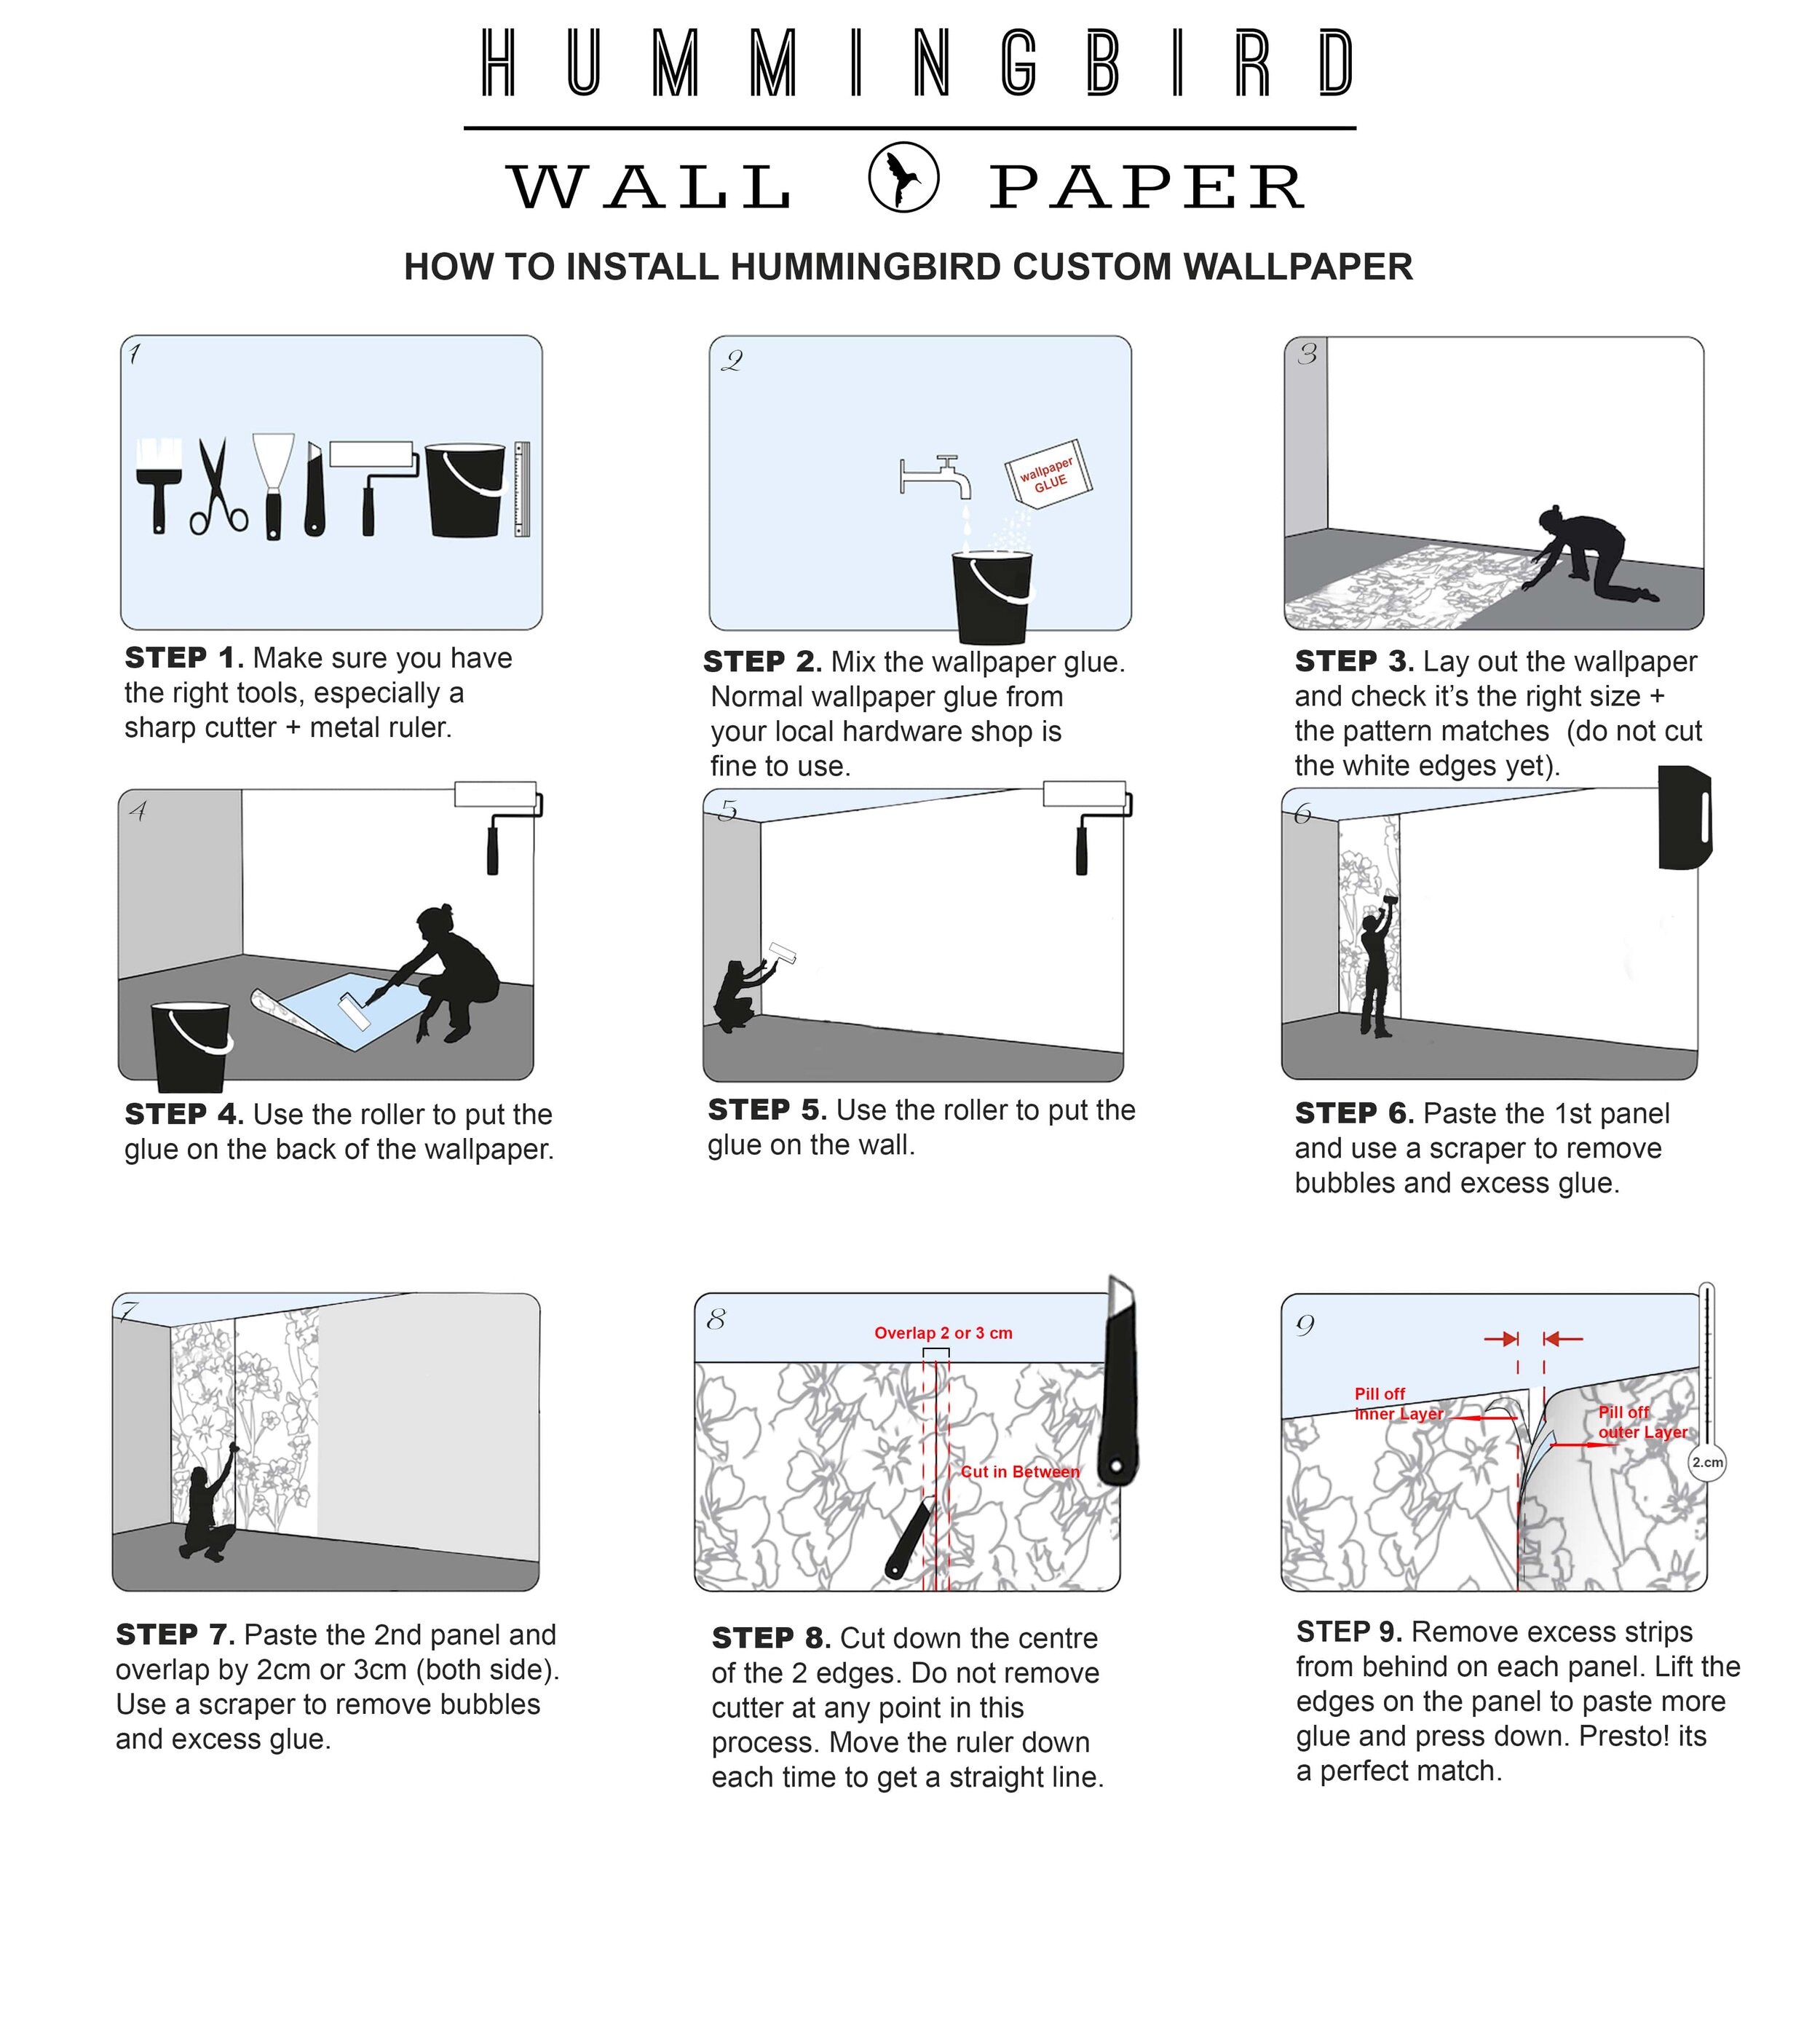
Tools and materials you will need
Set yourself up before you cut the first strip. Good tools prevent waste and stress.
- Tape measure, pencil, level, and a plumb line or laser
- Snap-off utility knife and extra blades
- 6–10 inch broad knife for clean trimming
- Wallpaper smoothing tool and a seam roller
- Buckets, sponge, microfiber cloths, and a clean damp rag
- Wallpaper primer or sizing, and sandpaper
- Paste brush or roller, and a water tray for pre-pasted paper
- Step ladder and drop cloths
- Wallpaper of your choice: peel-and-stick, pre-pasted, or unpasted vinyl, nonwoven, or paper
Pro tip: Change blades often. A fresh blade saves seams and corners. It also stops tears.
I will show How to Install Wallpaper with both paste and peel-and-stick. The steps are clear, so you can follow with any style.
Measure and plan your layout
Good planning is half the job. Do this before you cut.
- Measure wall height in three spots. Use the tallest number.
- Measure wall width. Note windows and doors.
- Check the pattern match: straight, drop, or random. Patterns with a repeat need extra.
- Add 10–20% for waste. More if the repeat is large.
- Plan your start point. Begin on the least seen corner. Avoid ending with a small sliver by doors.
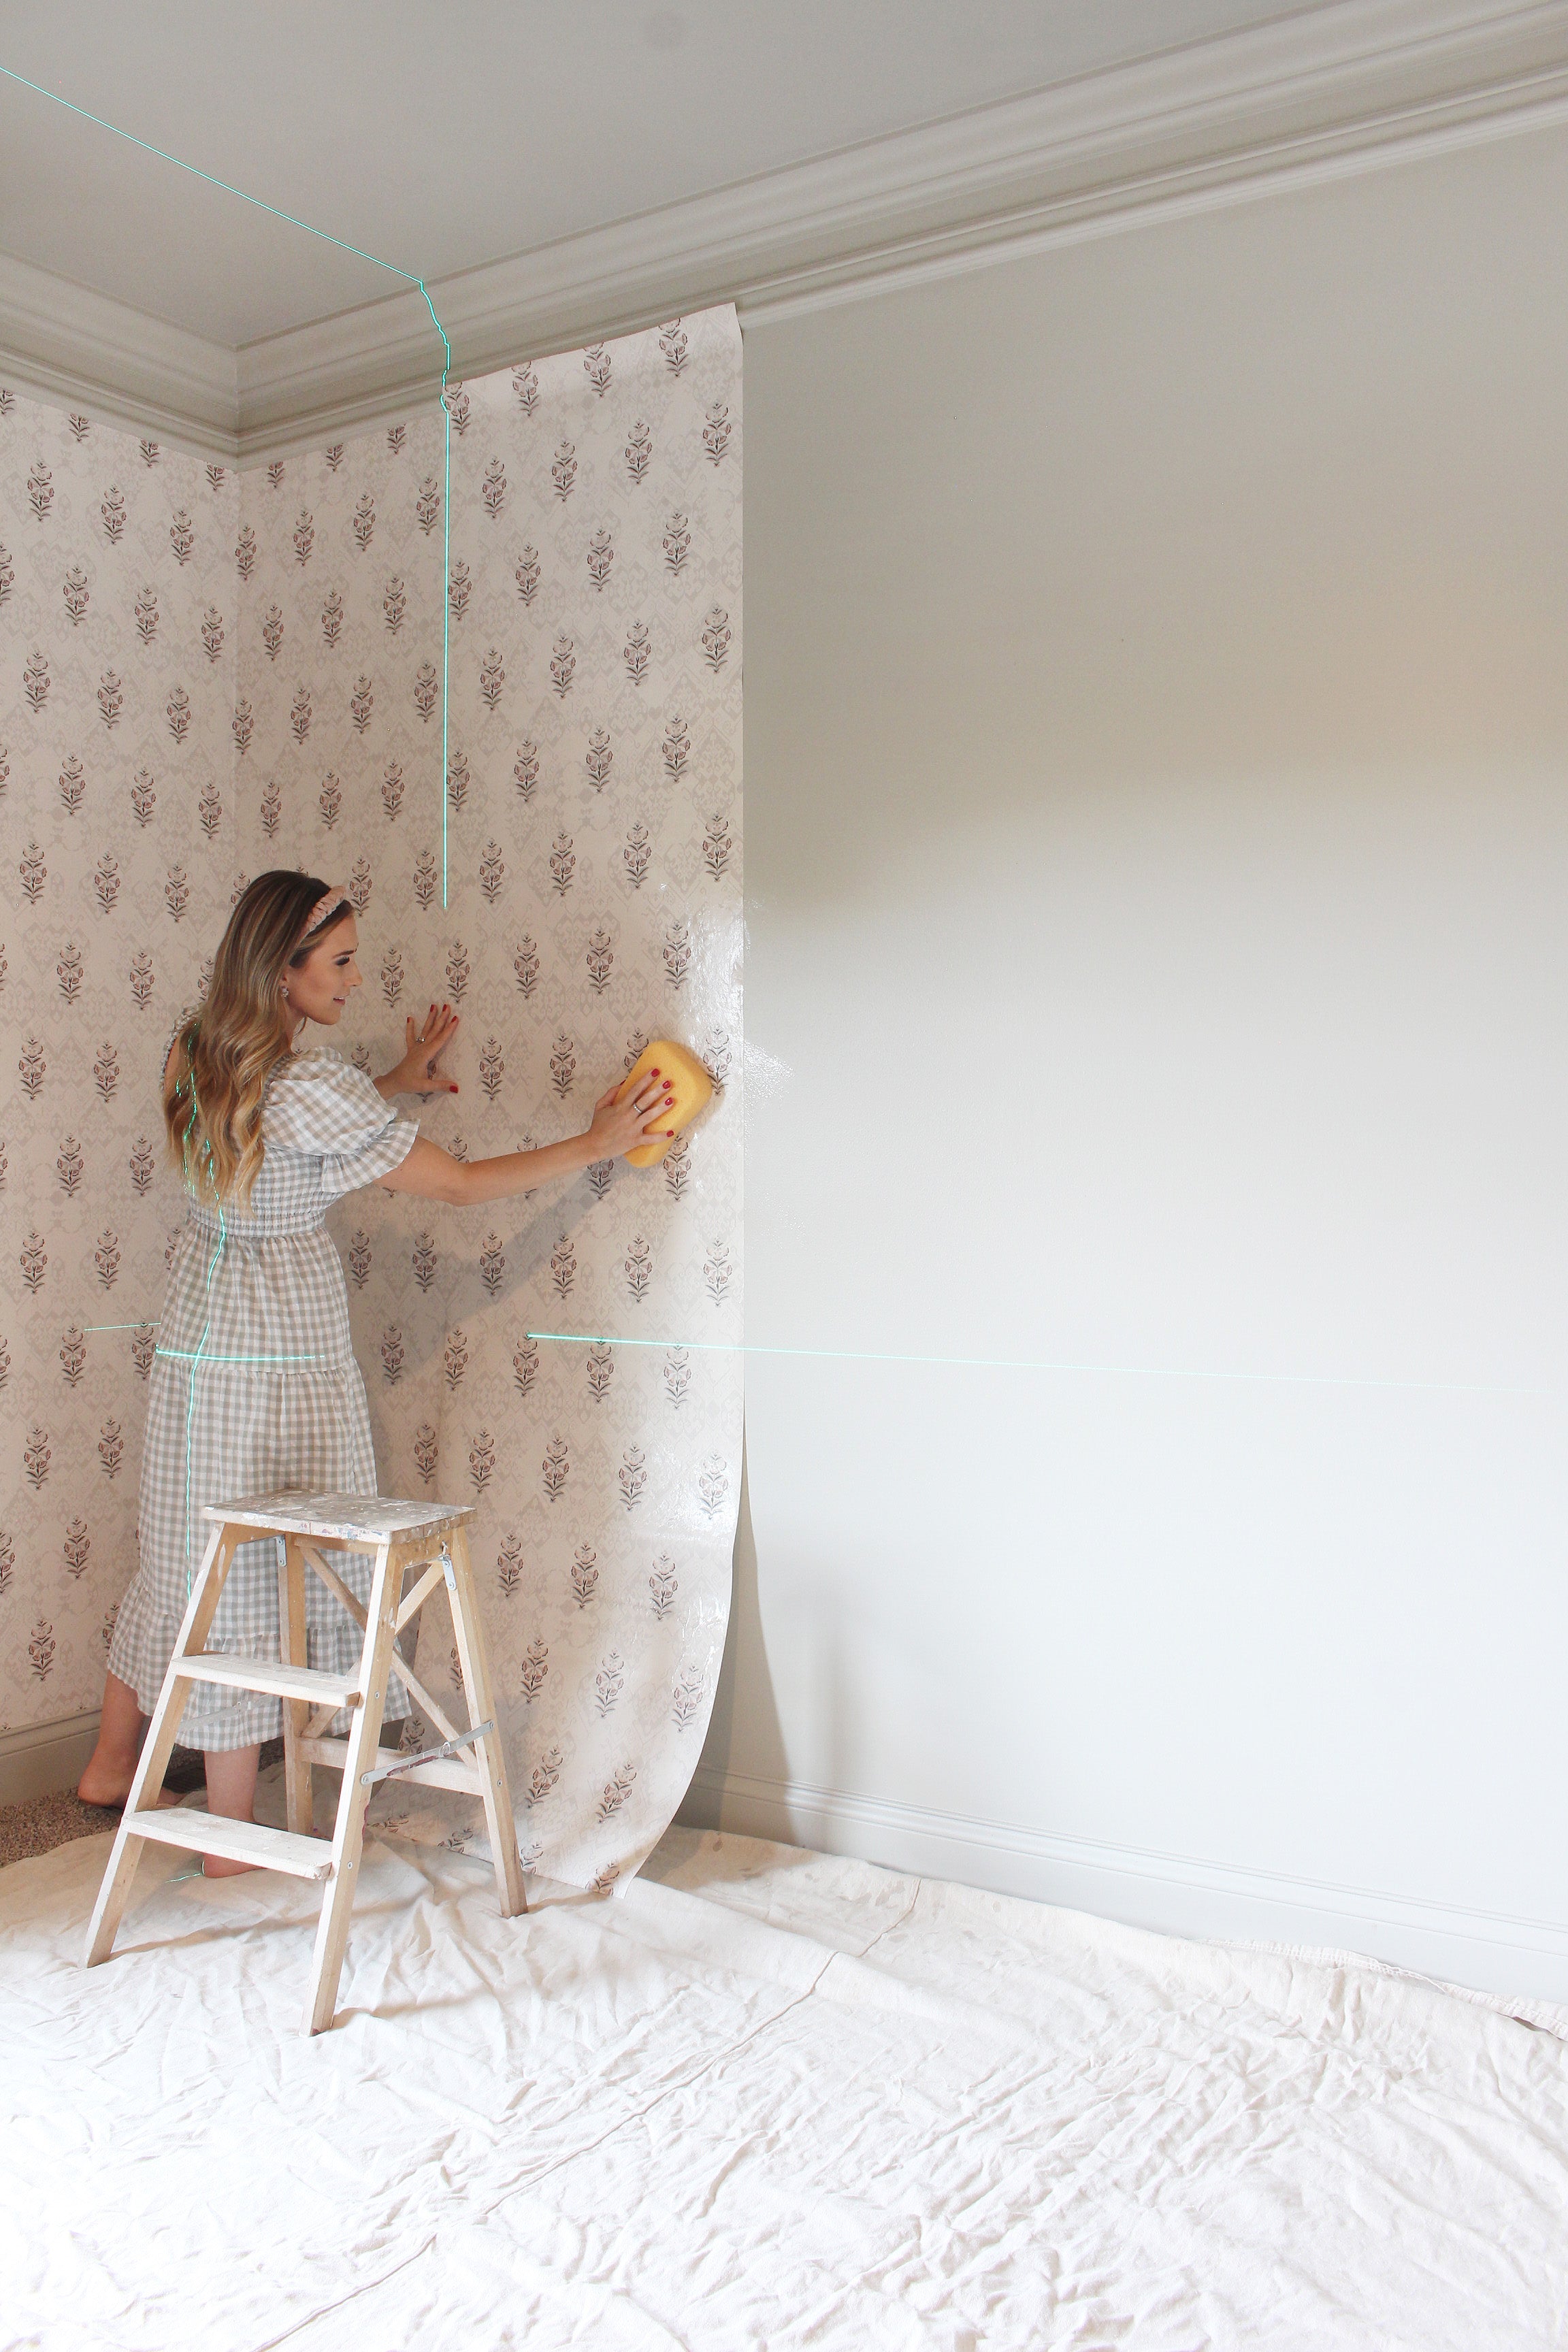
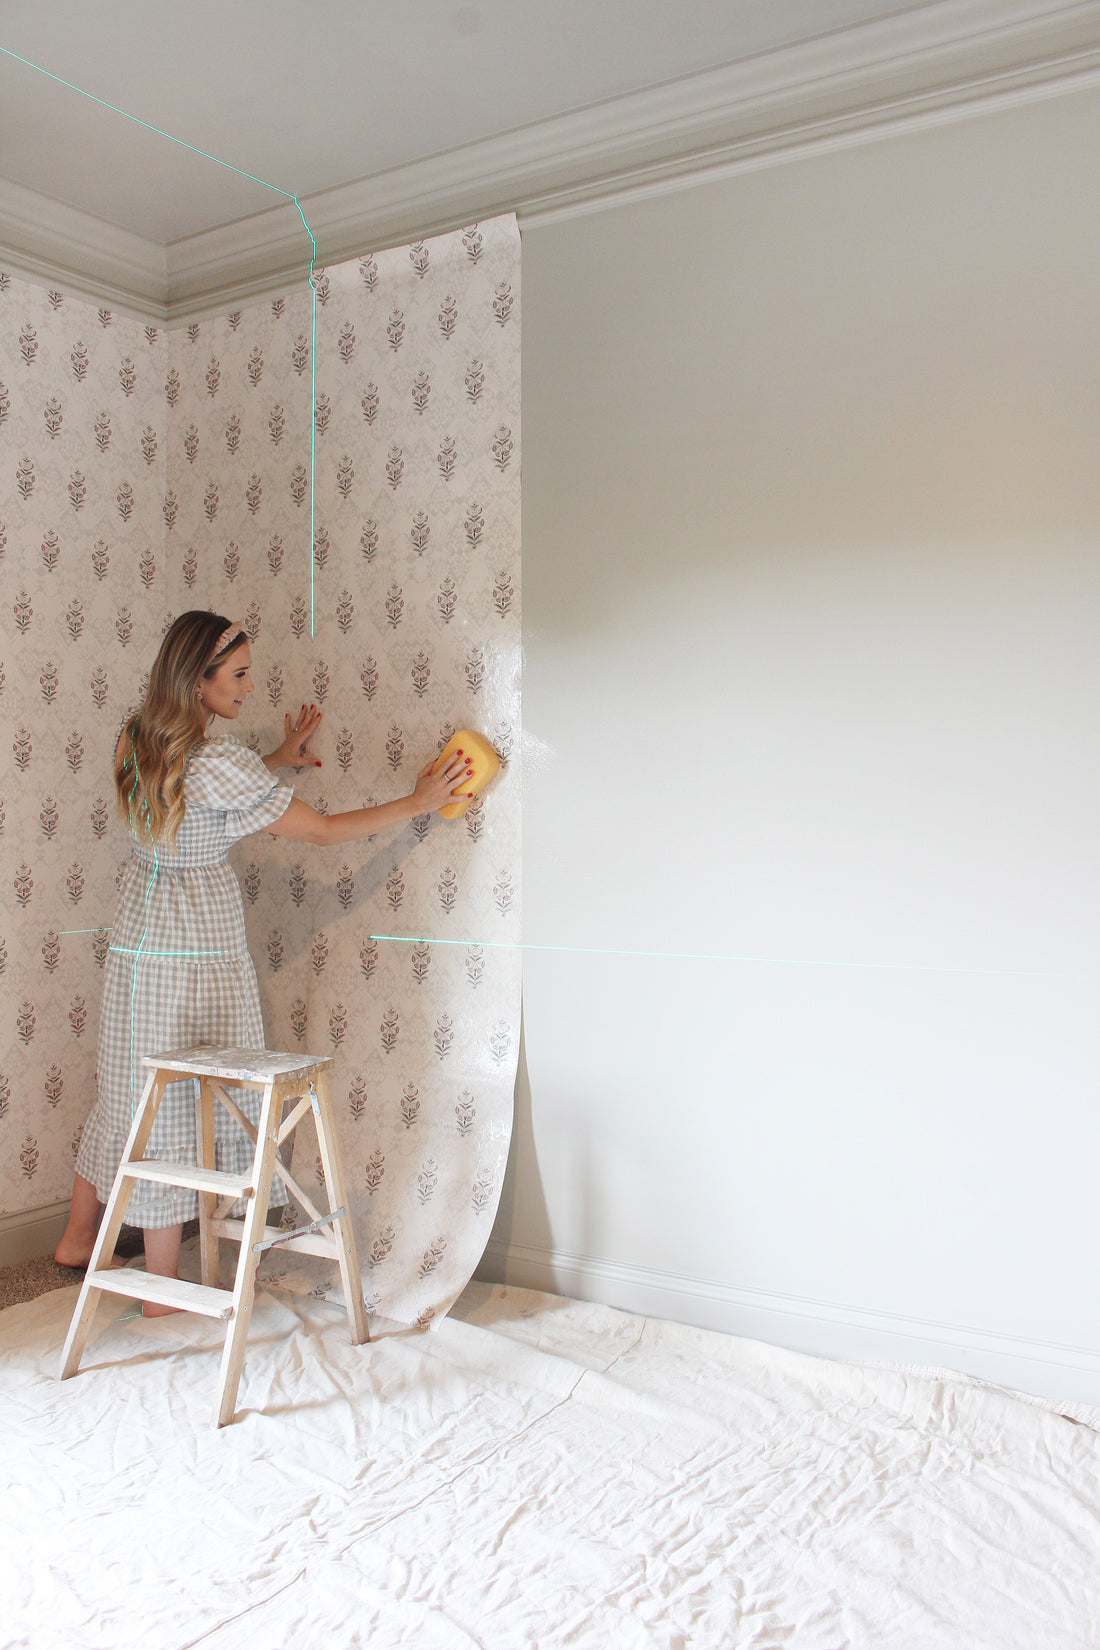
Draw a plumb line where the first strip will hang. Do not trust the corner to be straight. A true first strip is the base for a clean room.
If you ask me How to Install Wallpaper without waste, I say: sketch the room, number each strip, and pre-cut with a 2–3 inch top and bottom margin.
Prep the walls right
Great wallpaper needs a sound base. Prep makes or breaks the finish.
- Remove old paper fully. Soak, score, and strip. Rinse paste residue.
- Fill holes and sand bumps. Wipe dust with a damp cloth.
- Prime with a wallpaper primer or sizing. It helps slip, grip, and clean removal.
- Fix stains and mildew first. Use stain block and address moisture sources.
- Let new paint cure. Many paints need at least 7 days to dry to recoat and up to 30 days to cure for wallpaper.
Turn off power at the breaker. Remove outlet and switch plates. Tape screws to the cover so you do not lose them.
When people ask How to Install Wallpaper on textured walls, I suggest a skim coat and primer. Smooth walls give better bond and neat seams.
 activate adhesive”
style=”max-width: 100%; height: auto; border: 2px solid black; border-radius: 10px; display: block; margin: 0 auto;”
loading=”lazy”
/>
Cut, book, and activate adhesive
Work on a clean table. Keep hands and tools clean.
- Add 2–3 inches to the wall height for trimming.
- Match the pattern when cutting the next strips. Mark the top of each strip.
- For unpasted: roll on a thin, even coat of clear paste. Do not overdo it.
- For pre-pasted: soak in a water tray per the label. Activate glue fully.
- Fold ends toward the center without creasing. This is booking. Rest 5–10 minutes.
- For peel-and-stick: dry-fit first. Do not stretch the film.
Booking lets paper relax. It stops bubbles and curl. It is a key step in How to Install Wallpaper like a pro.

Hang the first strip straight
Start on your plumb line. Take your time here.
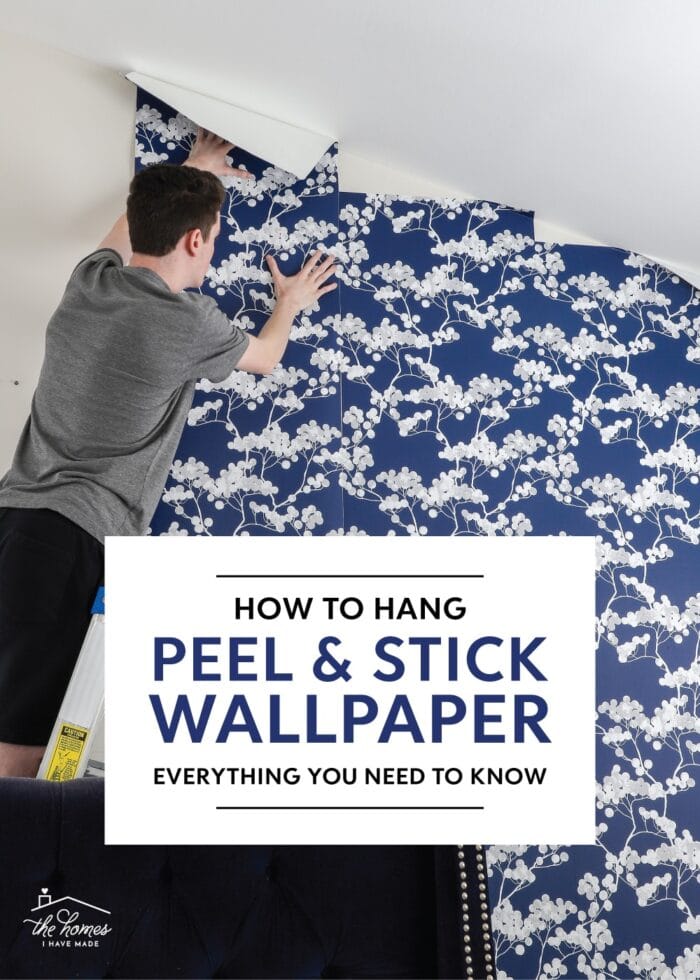
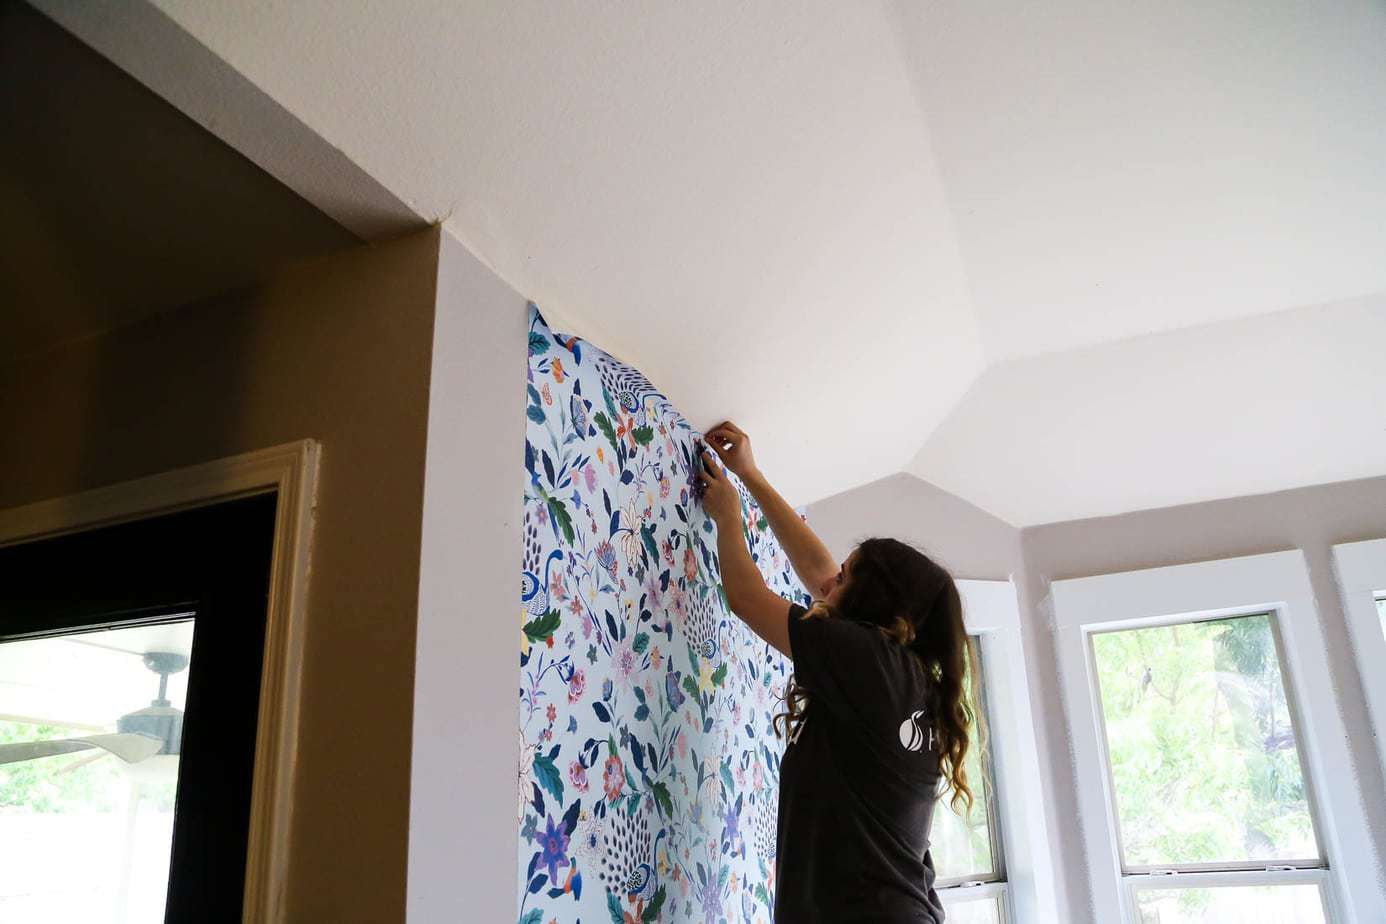
- Unfold the top half. Align the edge to the line. Leave 2 inches at the top.
- Smooth from the center out. Push air to the edges.
- Unfold the bottom half. Keep the edge straight down your line.
- Trim top and bottom with a sharp blade against a broad knife.
- Wipe paste off the face and trim line with a damp cloth.
I change blades every strip or two. A dull blade will snag the face. That one habit raised my finish rate fast.
Match patterns and close seams
Clean seams sell the job. They need care and light pressure.
- Hang the next strip. Slide to match the pattern exactly.
- Butt seams. Do not overlap.
- Smooth again. Use a seam roller with a light touch.
- Wipe away paste right away. Paste can stain some papers.
For complex patterns, I number and pre-match on the table. When people ask How to Install Wallpaper with big repeats, I say: dry-fit two strips on the floor and adjust cuts before paste.

Inside and outside corners
Walls are rarely square. Split the strip for tight corners.
- Inside corner: let the strip wrap 1/2 inch onto the next wall. Cut the rest as a new piece. Start that new piece on a fresh plumb line.
- Outside corner: wrap 1/2 inch, then start a new piece. Corners pull. Short wraps reduce peel.
- Brush glue into corners. Use extra paste if needed for grip.
Do not force a full-width strip around a corner. It will twist and gap.

Around outlets, switches, and trims
Safety first. Power off before work.
- Hang over the box. Find the box by touch.
- Cut a small X from center to corners. Trim to the edge of the box.
- Smooth and seal the seam with light roller pressure.
- For windows and doors, make relief cuts at angles. Trim on the broad knife.
If the wall is warm, paste can dry fast. I keep a mister on hand. A light mist revives slip for a clean trim.

Peel-and-stick vs traditional paste
Both can look great. Pick what fits your space.
- Peel-and-stick: renter-friendly and easy to remove. Needs smooth, clean, low-VOC paint. Do not use on fresh paint or humid rooms.
- Pre-pasted: quick to activate. Easy cleanup. Good for most walls.
- Unpasted with clear paste: best control and strong bond. Works on tricky spots and heavy vinyls.
If you ask How to Install Wallpaper that you may remove later, peel-and-stick is fine. For baths or kitchens, I like nonwoven with paste for better hold.
Common mistakes and easy fixes
No job is perfect. Here is how to recover fast.
- Bubble under the face: lift gently and smooth out. Pin-prick tiny bubbles and roll flat.
- Crooked first strip: pull and reset to the plumb line. Fix now or regret later.
- Gapping seams: too dry or stretched. Add paste under the seam and roll lightly.
- Paste on face: wipe at once with a damp cloth. Then dry with a soft towel.
- Wrinkled inside corner: split the strip and realign on a new plumb line.
When people learn How to Install Wallpaper, they often stretch peel-and-stick. Do not pull it tight. It will shrink back and gap.
Care, cleaning, and small repairs
Keep it fresh with simple care.
- Dust with a dry microfiber cloth.
- For vinyl or scrubbable paper, use mild soap and water. Test a small spot first.
- Fix a torn spot by patching with a matched scrap. Double-cut through both layers on a cutting mat behind the wall. Remove waste and seam the patch.
Save a labeled roll number and lot. Store flat, in a dry place. It will help with future fixes.
Budget, time, and waste tips
A small plan saves money and hours.
- Rolls vary. Many US singles cover about 30–36 square feet. Check the label.
- Add 10–20% extra for pattern match. Large repeats need more.
- A first-time DIYer can hang 3–5 strips per hour. Corners and cuts slow the pace.
- Buy one extra roll. Unopened rolls can often be returned. Keep batch numbers the same.
If you ask me How to Install Wallpaper on a weekend, I say: Day 1 for prep and prime. Day 2 for hang and trim.
Safety and environmental notes
Protect your space and your health.
- Ventilate the room. Many pastes are low-VOC, yet airflow helps.
- Use a stable ladder. Keep three points of contact.
- In homes built before 1978, be cautious with old paint. Lead-safe work rules apply.
- Treat mold and leaks first. Wallpaper does not stop moisture.
Eco tip: Nonwoven papers and clear, low-VOC pastes are a good green choice.
Frequently Asked Questions
How long should paint cure before wallpapering?
Most paints need at least 7 days to dry and up to 30 days to cure. Ask the paint maker and follow their data for best results.
Can I put wallpaper on textured walls?
Yes, but it is risky. Skim coat and sand for a smooth base, then prime with a wallpaper primer for a strong bond.
What is booking and why is it important?
Booking is folding pasted paper onto itself for a few minutes. It lets the paper relax and the paste activate, which reduces bubbles and shrinkage.
Should seams be rolled hard?
No. Roll seams with light pressure. Too much force can squeeze out paste and cause lifting later.
How many rolls do I need?
Measure square footage and check roll coverage on the label. Add 10–20% extra for waste, more if the pattern repeat is large.
Is peel-and-stick good for bathrooms?
Use caution in high humidity. If you try it, ensure paint is cured, walls are very smooth, and ventilation is strong.
How do I remove old wallpaper cleanly?
Score lightly, soak with warm water or remover, and peel in sections. Rinse paste residue and prime before new paper.
Conclusion
You now know How to Install Wallpaper from start to finish: plan the layout, prep the wall, cut and book, hang straight, and detail the seams. With clean tools and a calm pace, you can get a crisp, pro look in any room. Start with a small wall, learn your rhythm, and grow your skill.
Ready to try? Pick a wall, gather tools, and follow this guide on How to Install Wallpaper step by step. Share your results, ask questions, or subscribe for more hands-on home tips.