Turn off water, wrap threads, twist on new head, hand tighten, test, enjoy.
If you want to know how to install a shower head the right way, you’re in the perfect place. I’ve installed countless models—from fixed rain heads to handheld combos—and I’ll walk you through each step with simple, proven tips. This guide shows you How to Install a Shower Head without leaks, stripped threads, or wasted time. Stick with me, and you’ll finish fast and feel confident doing it again.

Tools and Materials You’ll Need
Before you start, gather everything so you do not pause mid-job. It keeps the process clean and easy, especially if this is your first time learning How to Install a Shower Head.
- Adjustable wrench or slip-joint pliers for snug tightening
- Microfiber cloth or masking tape to protect finishes
- Thread seal tape (PTFE/Teflon tape) for leak-free threads
- Old toothbrush and paper towels for cleaning
- White vinegar and a small cup for mineral buildup
- New shower head, handheld kit, or rain head of your choice
- Optional: pipe thread sealant (pipe dope) if the manufacturer recommends it
Pro tip from experience: many modern shower heads have a rubber washer in the connector. You still use PTFE tape on the arm threads for added insurance.

Prep and Safety Checklist
A little prep makes the job smooth. When you’re learning How to Install a Shower Head, these steps avoid the most common mistakes.
- Turn off the shower control. You do not need the main house valve unless your valve leaks.
- Cover the tub or shower floor with a towel to catch small parts and protect the finish.
- Remove the old head by hand first. If stuck, wrap the connector with a cloth, then use a wrench.
- Clean the threads on the shower arm. Use a toothbrush to remove old tape or debris.
- Soak the shower arm tip in vinegar for 5–10 minutes if you see white scale.
If the shower arm wiggles in the wall, hold the arm base gently while loosening the old head. This prevents twisting the pipe inside the wall.
Step-by-Step: How to Install a Shower Head
Learning How to Install a Shower Head is simple. Follow these steps for a clean, leak-free setup.
-
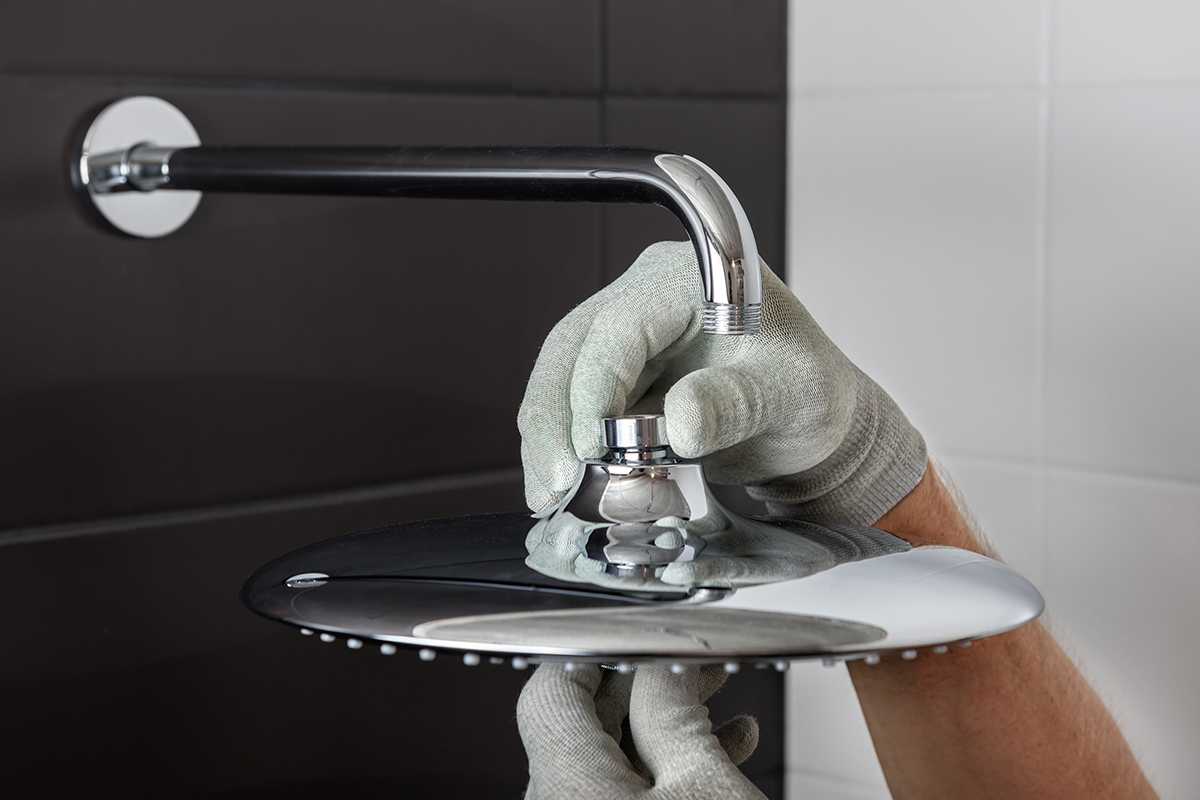
Remove the old shower head
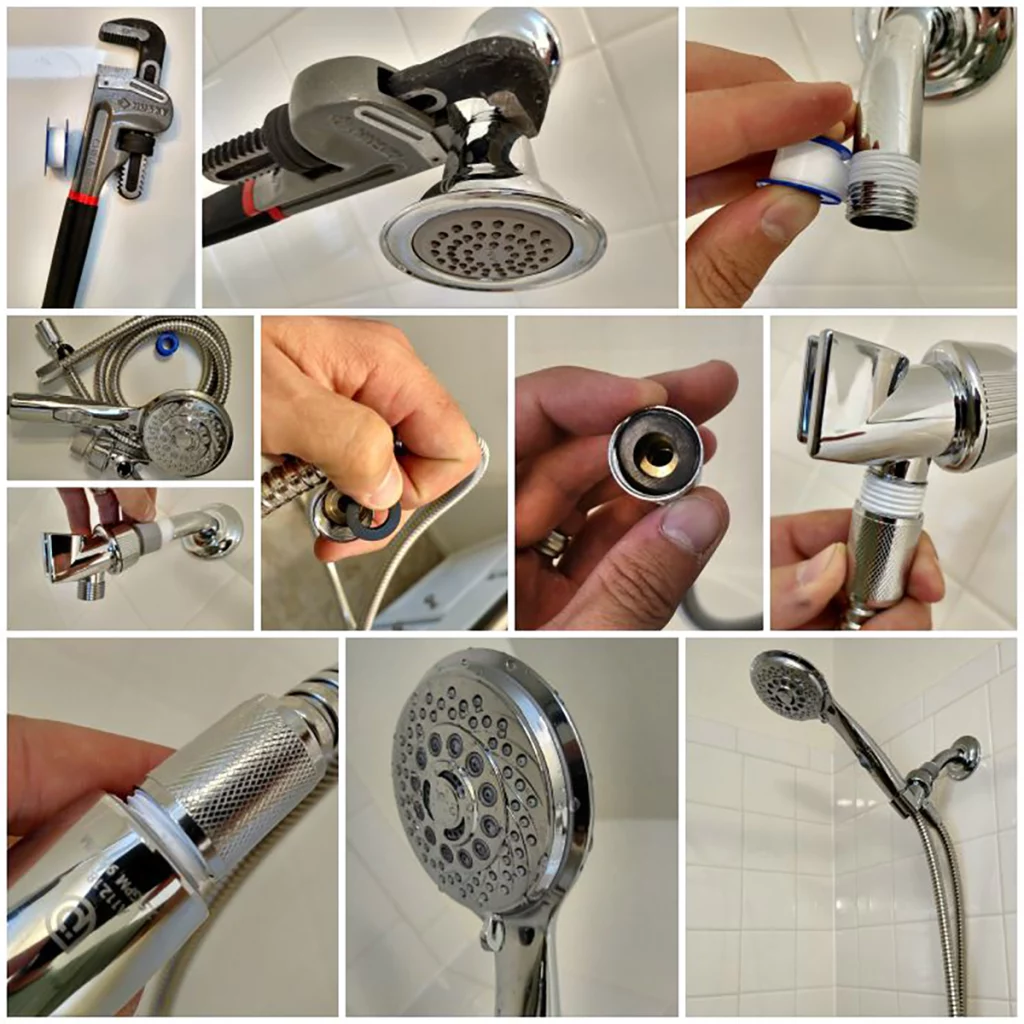
Gently twist counterclockwise. Use a cloth with a wrench if needed. Keep the old head to check thread size if you plan to reuse parts. -
Inspect and clean the shower arm
Look for cracks, corrosion, or loose fittings. Clean threads with a brush. Wipe dry so the tape sticks. -
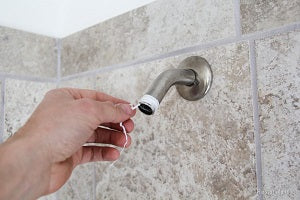
Wrap thread seal tape
Wrap 2–3 layers of PTFE tape clockwise, starting at the first thread and moving back. Clockwise matters so the tape does not unravel as you tighten the new head. -
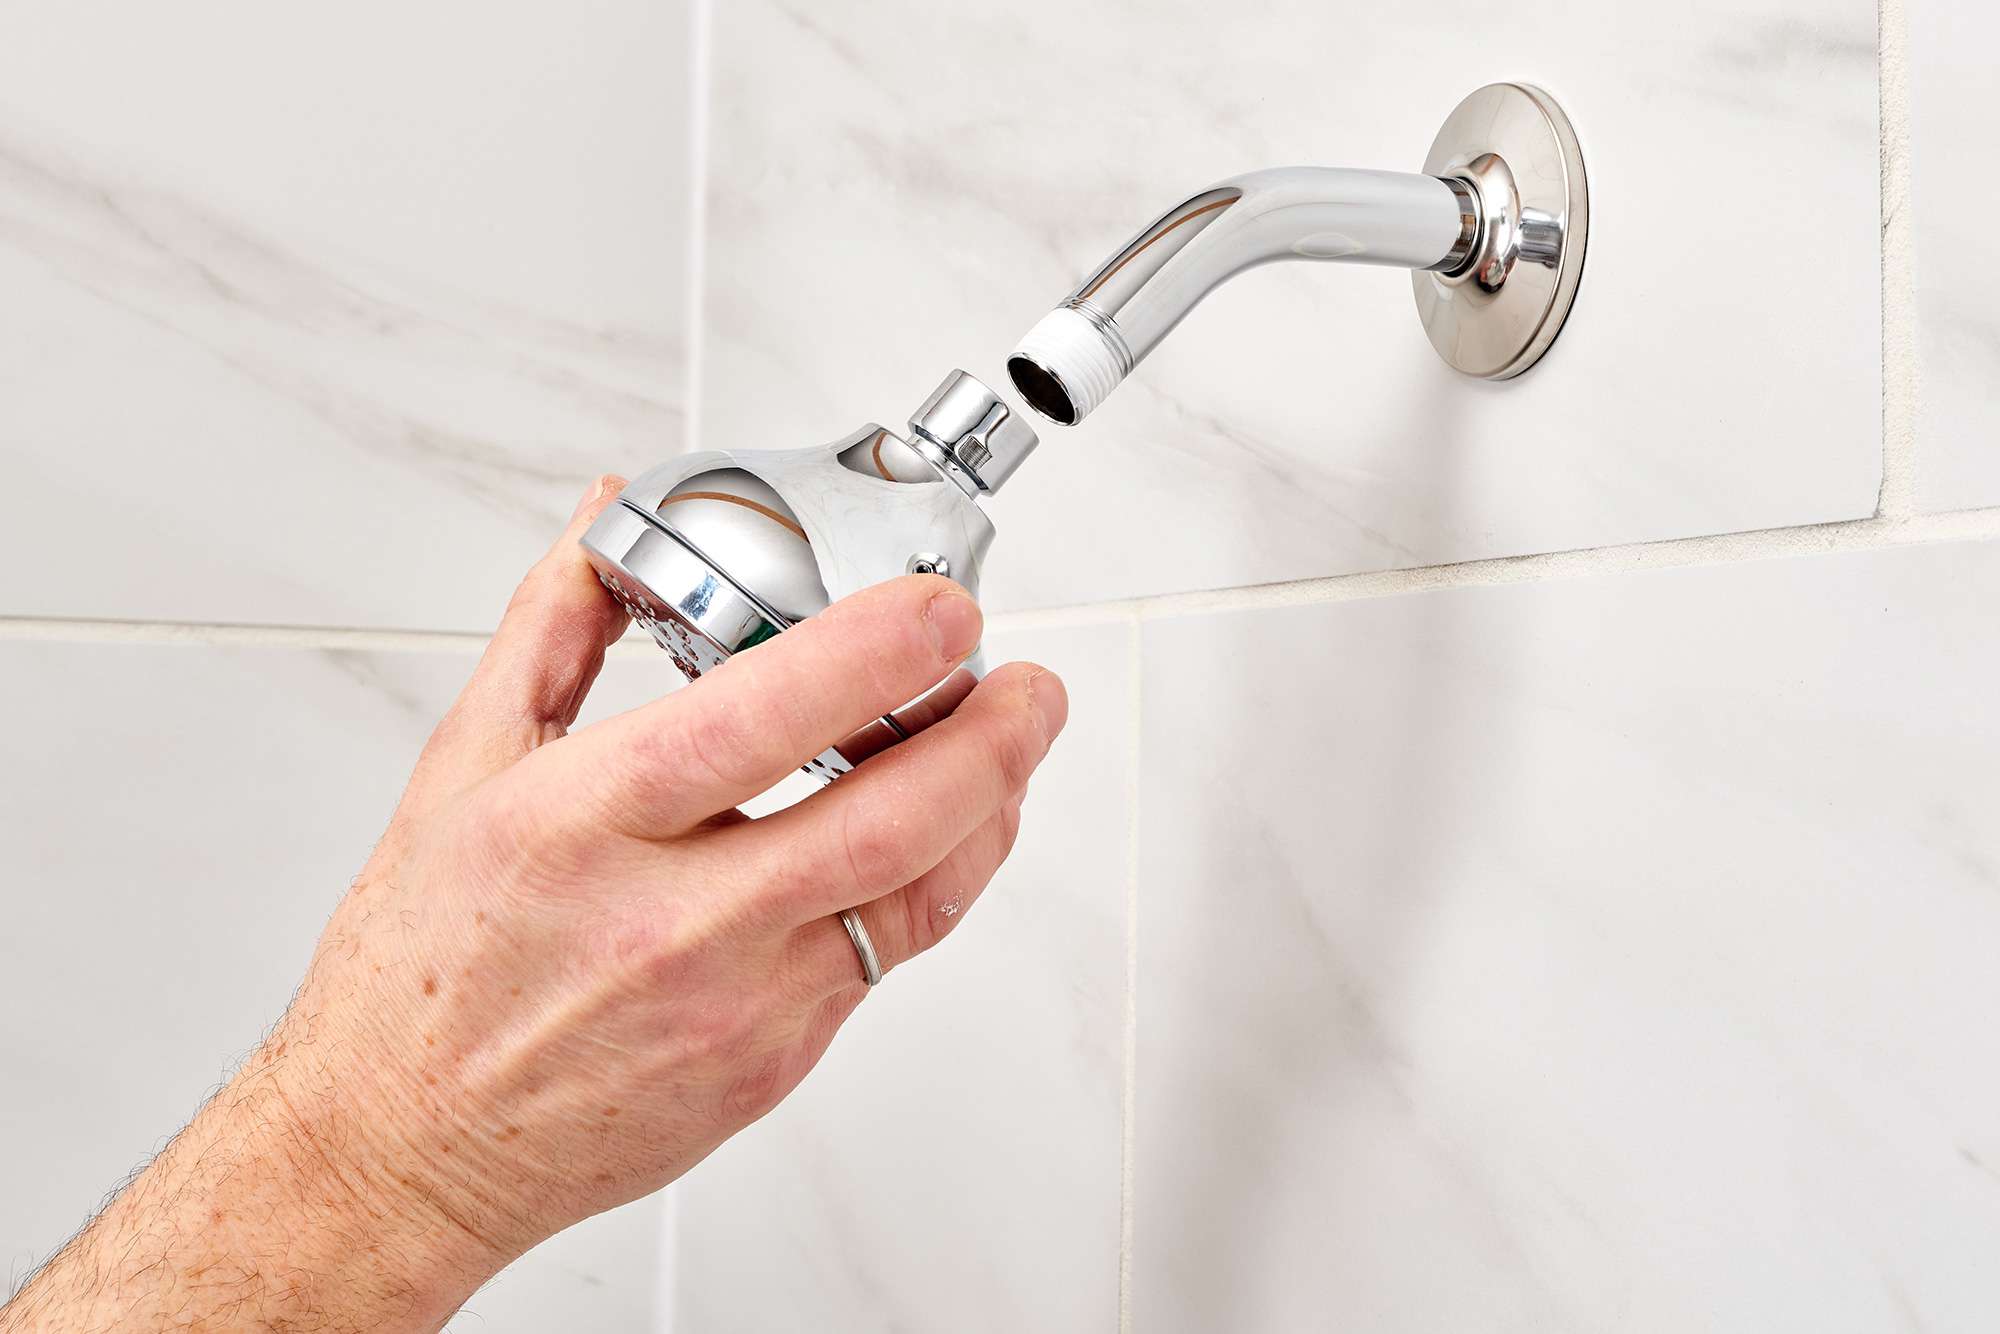
Hand-thread the new shower head
Align straight and turn clockwise by hand only at first. Cross-threading ruins the fitting. If it resists, back off and start again. -
Snug it up
Place a cloth on the fitting to protect the finish. Use a wrench to snug the connection. Do not over-tighten. A firm quarter turn after hand-tight is usually enough. -
Test for leaks
Turn on water slowly. Check for drips at the joint. If it drips, tighten a touch more. Still leaking? Remove, re-tape, and reinstall. -
Adjust spray and height
For handheld kits, mount the bracket per the instructions. Set hose washers in place. Test each spray mode and check the holder angle.
Real-world tip: I’ve seen most leaks come from rushed taping or cross-threading. Take your time on those two steps and you’ll almost never have a problem.
Troubleshooting and Fine-Tuning
Even when you know How to Install a Shower Head, a few issues can pop up. Here is how to fix them fast.
-
Slow flow or low pressure
Check the included flow restrictor, hose kinks, and clogged rubber nozzles. Gently rub nozzles with your thumb or soak the head in warm vinegar. -
Leaks at the joint
Remove the head, re-wrap the tape clockwise, and reinstall. Confirm the rubber washer is flat and not twisted. -
Drips after shutoff
A few seconds of leftover water draining is normal. A steady drip from the head may be a valve issue, not the head. If it persists, the shower valve may need service. -
Squealing or whistling
Mineral buildup or a partially closed stop valve can cause noise. Clean the head and make sure any in-wall stops, if present, are fully open.
If your setup keeps leaking after you re-tape and snug it, the shower arm threads might be damaged. Replacing the arm is a quick fix with the same skills you used to install the head.
Types of Shower Heads and When to Choose Which
Understanding options helps you plan How to Install a Shower Head that suits your style and home.
-
Fixed wall-mounted head
Simple, budget-friendly, and fast to install. Great for renters or quick upgrades. -
Handheld with hose
Best for families, pets, and cleaning the tub. Requires a bracket or slide bar. -
Rain shower head
Wide, gentle spray. Works best with adequate ceiling height and, often, a larger diameter arm. -
Dual head combo
Fixed plus handheld. Offers flexible use without extra plumbing. -
Filtered shower head
Reduces chlorine and some sediments. Good for sensitive skin and hair, but filters need regular changes.
In my installs, handheld units deliver the most flexibility for daily life. For spa vibes, a large fixed or rain head shines—just confirm your water pressure can support it.
Maintenance Tips for Long-Term Performance
Learning How to Install a Shower Head is step one. Keep it working like new with simple care.
- Wipe the faceplate weekly to prevent buildup.
- Once a month, soak the head in a bag of warm vinegar for 20–30 minutes.
- Check the joint for leaks twice a year and refresh PTFE tape if needed.
- Replace filters on schedule if you use a filtered head.
- Inspect hose washers yearly on handheld models.
A few minutes of care saves you from clogs and uneven spray later.
:max_bytes(150000):strip_icc()/how-to-change-a-shower-head-1798745-hero-c5b235bc7f8c474b83d540bf21e7ce02.jpg)
Cost, Time, and Difficulty Overview
It helps to know what to expect before you start How to Install a Shower Head.
-
Cost
$15–$40 for basic fixed heads. $40–$120 for quality handhelds. $80+ for premium or rain models. -
Time
10–30 minutes if the shower arm is in good shape. -
Difficulty
Easy for most DIYers. Moderate if you replace the shower arm or add a slide bar.
If you find corrosion on the arm or in the wall, budget extra time to replace parts.

Water Use, Pressure, and Code Notes
These details matter when you plan How to Install a Shower Head that feels great and meets rules.
-
Flow rates
Federal standard is up to 2.5 GPM at 80 psi. Some states limit to 2.0 or 1.8 GPM. Check your local rules. -
Pressure sweet spot
Most heads work well from 40–60 psi. Very high pressure can mist or sting. Low pressure may need a head designed for low-flow performance. -
Thread size
Most US shower arms use 1/2-inch NPT threads. If a head will not fit, confirm the size before forcing it. -
Safety for finishes
Use a cloth with tools to avoid scratches. Avoid harsh cleaners on plated or matte finishes.
If your pressure is low, look for heads marketed for low-pressure homes. They often use venturi or pressure-compensating designs to improve feel.

Frequently Asked Questions of How to Install a Shower Head
Do I need to turn off the main water to install a shower head?
No. Turn off the shower control only. If your valve leaks when off, then shut the main water before you start.
How many wraps of thread seal tape should I use?
Use 2–3 wraps of PTFE tape, applied clockwise. More is not better and can cause cracking or leaks.
Can I install a handheld shower without drilling?
Yes, many kits use an adhesive or existing holder. For a heavy slide bar, use anchors or find a stud for safe mounting.
Why is my new shower head still leaking at the joint?
It is often cross-threaded or under-taped. Remove it, re-wrap the tape clockwise, seat the washer flat, and snug it again.
Will removing the flow restrictor damage the shower head?
It can void warranties and may violate local rules. Choose a model designed for your pressure and legal flow rate instead.
Conclusion
You now know How to Install a Shower Head from start to finish. Gather tools, clean threads, wrap tape clockwise, hand-fit, snug, and test. With these basics and a few pro tips, your upgrade will look sharp and run leak-free.
Ready to put it into practice? Pick your new head today, set aside 20 minutes, and make the swap. If you found this helpful, subscribe for more step-by-step home fixes or share your before-and-after results—I’d love to see them.