Pick a quiet spot, use ergonomic desk and light, declutter, personalize, and set routines.
You want a corner that makes focus feel easy. In this guide, I’ll show you How to Create a Study Corner that supports deep work, protects your body, and keeps your mind calm. I design learning spaces for busy people, and I’ve tested these tips in small apartments, dorms, and family homes. Follow along to learn How to Create a Study Corner that fits your goals, your space, and your budget.
Start with a plan
A good study corner starts with clarity. Decide your goal, budget, and time frame. Do you need a reading nook, a laptop station, or a dual-monitor setup? Write it down. This helps every choice feel easy.
Pick a style you like. Clean and light. Warm and cozy. Simple and calm. Your look should support the work you do. If you sketch or read, you need space for books and notes. If you code, you need screen room and cable control.
Measure your space. Note outlets, windows, and traffic paths. A tape measure saves many returns. I keep a small sketch with sizes and a short list: desk width, chair space, storage needs. It takes five minutes and avoids pain.
When you think about How to Create a Study Corner, a plan keeps you on track. It also keeps costs down and results high.
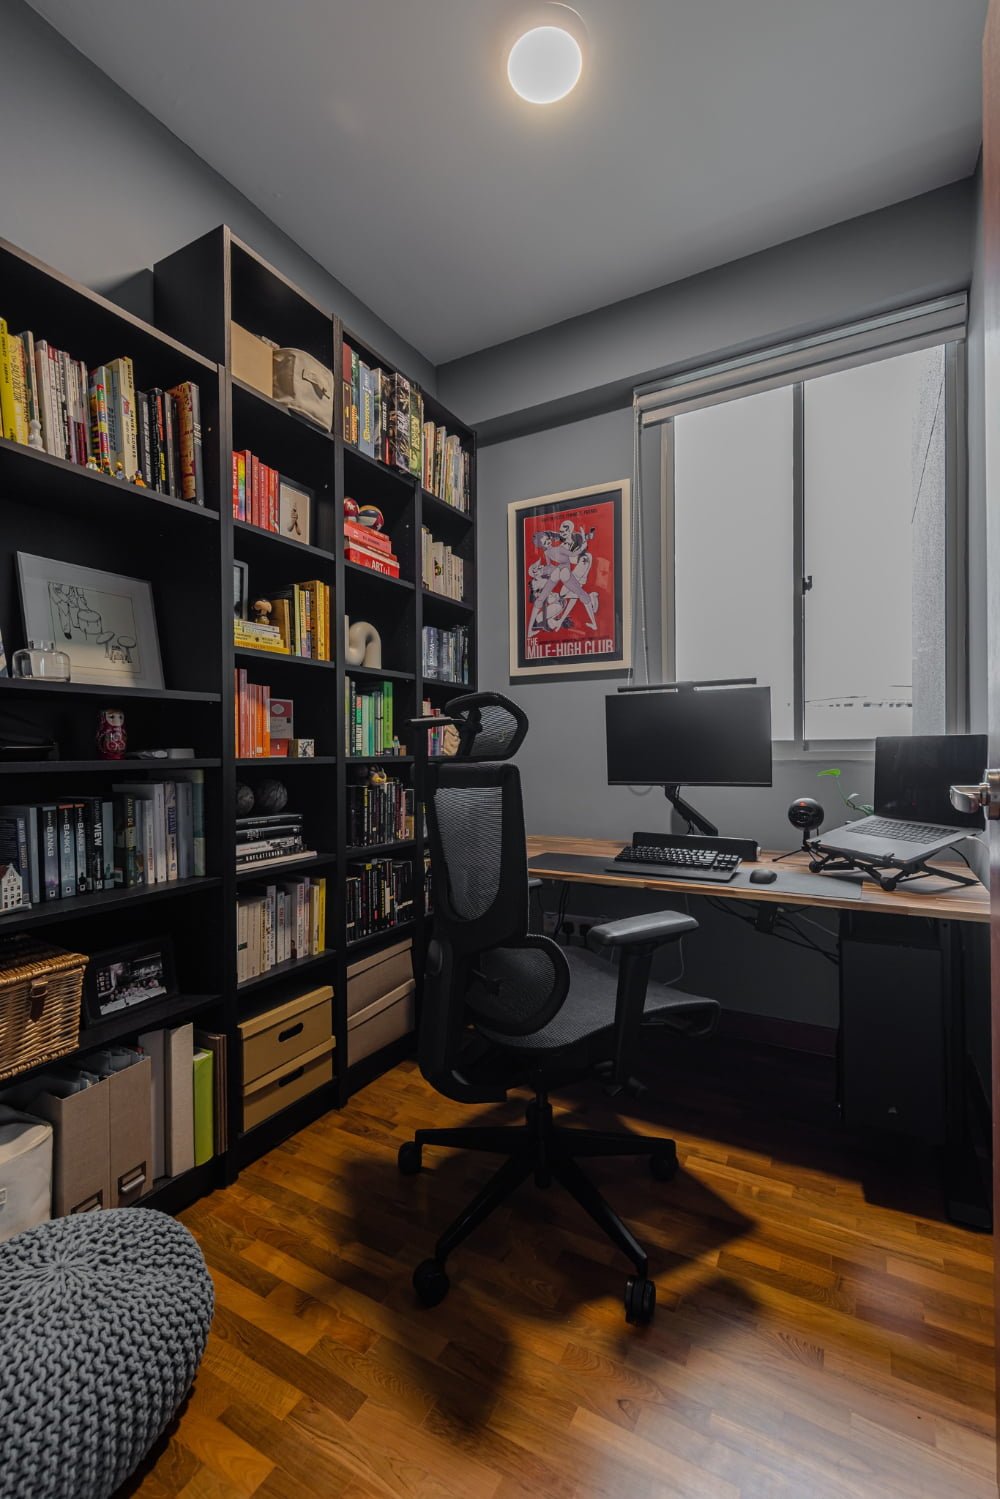
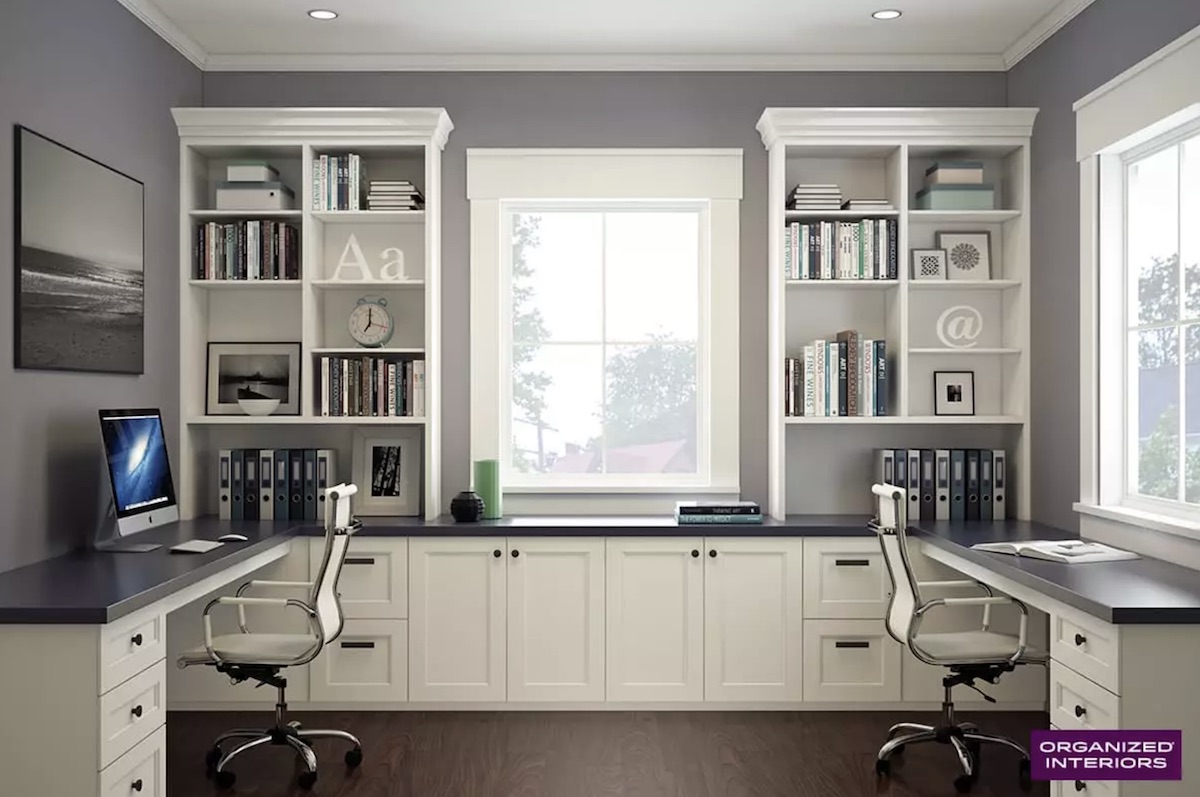
Choose the right location
Pick a quiet zone with low foot traffic. Corners near a wall tend to work best. Avoid TV noise, door swings, and busy hallways. If you share space, use a corner with your back to the room and eyes to a wall. This cuts visual noise.
Mind airflow and heat. A vent that blasts air on your neck is not fun. Windows are great, but face your desk sideways to the window to avoid glare. If you must face a wall, add a small art piece or plant to ease eye strain.
Test sound. Record 30 seconds at different times. If noise spikes, add a rug or curtains. These soften echo. If you need to know How to Create a Study Corner in a studio, a folding screen or a bookcase can create a zone in minutes.

Get the layout and ergonomics right
Your body matters more than your desk. Good ergonomics raise focus and cut pain. Aim for these simple points:
- Chair height lets feet rest flat and knees bend near 90 degrees.
- Desk height lets elbows bend near 90 degrees with relaxed shoulders.
- Keep wrists straight when you type. Use a keyboard tray if needed.
- Place the top of your monitor at or slightly below eye level.
- Sit about 20 to 30 inches from the screen. Adjust for comfort.
Use the 20-20-20 rule to relax your eyes. Every 20 minutes, look 20 feet away for 20 seconds. Research backs this for eye strain relief.
If you like to stand, try a sit-stand desk or a simple riser. Add a footrest for comfort. A stable chair with lumbar support is worth it. I once used a dining chair for months. My back hated me. When I switched to an ergonomic chair, my study time grew by an hour a day. That is How to Create a Study Corner that works.

Master lighting
Light shapes mood and focus. Use three layers.
- Natural light for mood. Face the window to the side to avoid glare.
- Ambient light to fill the room. A ceiling or floor lamp works.
- Task light for reading or typing. Aim a lamp at your work surface.
Pick a task lamp with 400 to 800 lumens. A color temperature near 4000K to 5000K feels bright and clear. Warm light near 3000K is cozy for night reading. Avoid harsh overhead glare. If your screen glares, tilt it or move the light. Bias lighting behind the monitor cuts eye strain.
If you need to learn How to Create a Study Corner that saves your eyes, get a dimmable lamp. I use one with a touch slider. It keeps my evenings calm and my mornings sharp.

Organize and declutter
Clutter steals focus. Set zones:
- Work zone for your keyboard, notebook, and main device.
- Ready zone for pens, chargers, sticky notes, and a timer.
- Deep zone for books, files, and tools you use weekly.
Use a drawer insert. Add a cable box or zip ties. Label one box for spare tech. Store only what you need within arm’s reach. Once a week, do a two-minute reset. Toss scraps. File notes. Back up files. This is a silent superpower in How to Create a Study Corner that stays tidy.
:max_bytes(150000):strip_icc()/Brooklinteriors2-db5ca51b03e149699062c6be77d84cce.jpg)
Gear and tools that boost focus
You do not need much. Start lean.
- A stable desk that fits your space and elbows.
- An ergonomic chair with lumbar support.
- A task lamp with a pivot arm.
- A simple timer or app for sprints.
- Noise-canceling headphones or soft foam plugs.
- A whiteboard or pad for ideas and to-dos.
Add a surge protector with USB ports. Route cables behind the desk. Keep a microfiber cloth for screen wipes. I also keep a small plant. It lifts my mood on tough days and makes How to Create a Study Corner feel alive.

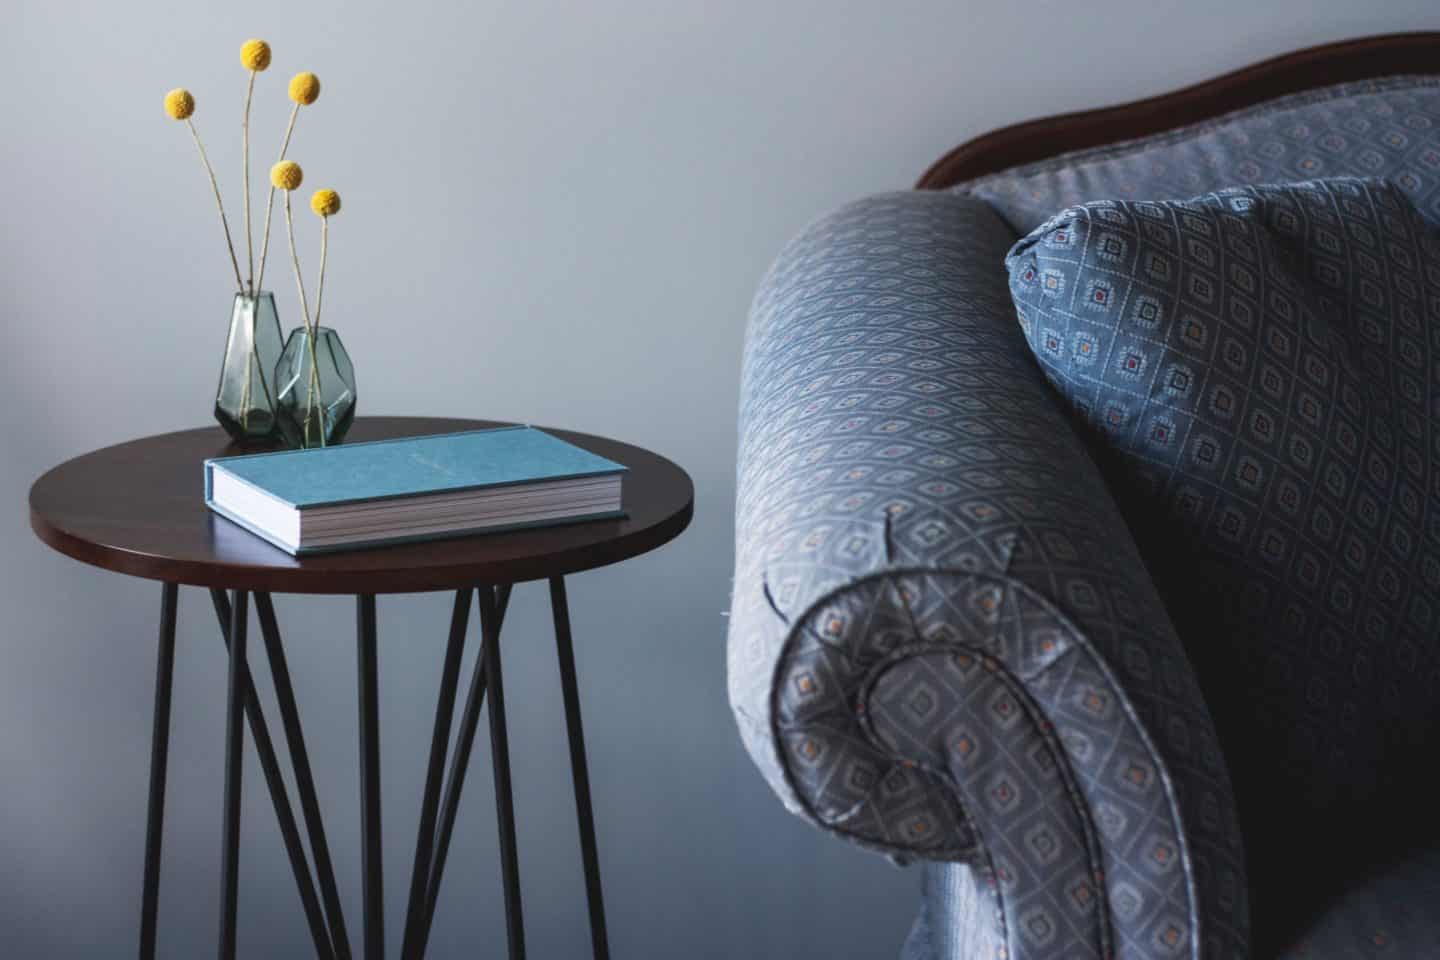
Personalize for motivation without distraction
Make it yours, but keep it light. One plant. One photo. One quote. Use a small cork board for goals and wins. Rotate items each month. Scent can help, too. A hint of citrus or mint wakes the brain. Music can help with flow. I use soft lo-fi beats for writing and silence for reading.
Stay honest about what distracts you. If a shelf of knick-knacks pulls your eyes, move them. How to Create a Study Corner is also how to protect your attention.
Build routines that stick
Space sets the stage. Habits run the show.
- Start ritual. Light your lamp. Fill water. Open your plan.
- Time blocks. Use 25 to 50 minute focus sprints with short breaks.
- One task at a time. Park the rest on a list.
- End ritual. Tidy for two minutes. Close loops. Note tomorrow’s first step.
If you have ADHD or find focus hard, try shorter sprints and body-doubling calls. Place a visual cue, like a small “Focus now” card. That tiny nudge adds up. This is How to Create a Study Corner that turns into a daily flow.
Small spaces and budget tips
Tight on space or cash? Get clever.
- Wall-mounted desk or fold-down table saves floor space.
- A rolling cart holds tools and tucks away after work.
- Use vertical space. Shelves above the desk free the top.
- Thrift a solid wood table. It beats many new wobbly desks.
- DIY a footrest with a sturdy box and a towel.
You can build a full setup for less than the cost of a fancy chair. Start with the chair and lamp. Then add storage. How to Create a Study Corner on a budget is about smart picks, not pricey gear.
Common mistakes to avoid
- Dim or harsh light that strains your eyes.
- A wobbly desk or sagging chair that kills focus.
- A desk that is too deep or too high for your frame.
- Too many decor items that crowd your view.
- Mixing study and leisure in the same seat. Keep zones clear.
I made these mistakes in my first home office. Fixing just the light and chair doubled my output. Learn from my pain. That is the honest side of How to Create a Study Corner that lasts.
Frequently Asked Questions of How to Create a Study Corner
What size desk do I need?
Aim for at least 40 inches wide and 20 inches deep for a laptop and notes. If you use a monitor, 48 inches wide makes life easier.
How can I reduce distractions in a shared space?
Face a wall, use headphones, and set a simple “focus” sign. Short, clear rules with housemates help a lot.
What is the best chair for long study sessions?
Pick a chair with lumbar support and adjustable height. Your feet should rest flat and your elbows should bend near 90 degrees.
How do I set up lighting to avoid glare?
Place your desk sideways to windows and use a task lamp. Dim overhead lights and use a matte screen if needed.
How often should I declutter my study corner?
Do a quick two-minute tidy every day and a deeper reset weekly. Small, steady care keeps the space clear.
Conclusion
A strong study corner is simple: a quiet spot, kind light, and gear that fits your body. Add clear zones, light decor, and small daily habits. That mix supports deep work and calm energy.
Start today. Measure your space, pick one upgrade, and do your two-minute reset tonight. If this helped, subscribe for more hands-on guides, or share your own setup tips in the comments. And keep building on How to Create a Study Corner that serves your goals.