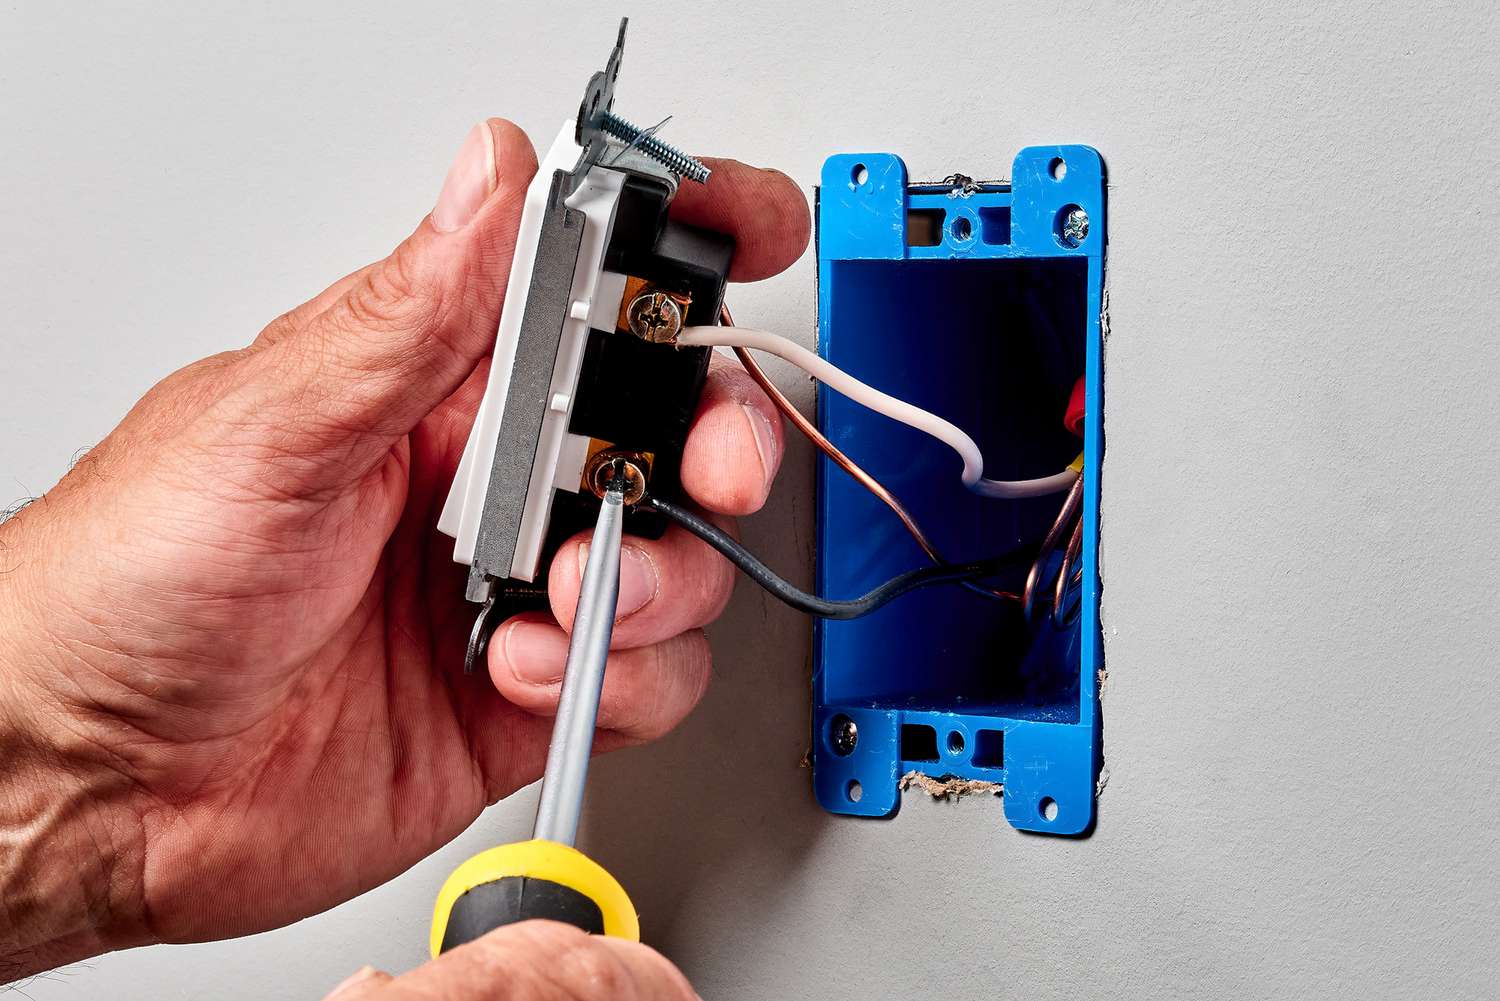
Shut off power, test for voltage, swap the switch, rewire, and test again.
You came to learn How to Replace Light Switches the right way, and you will. I have replaced hundreds of switches in old homes and new builds. I will show you How to Replace Light Switches with safe steps, clear photos-in-your-head tips, and code-smart advice that works.
Safety First: What To Do Before You Touch Any Wires
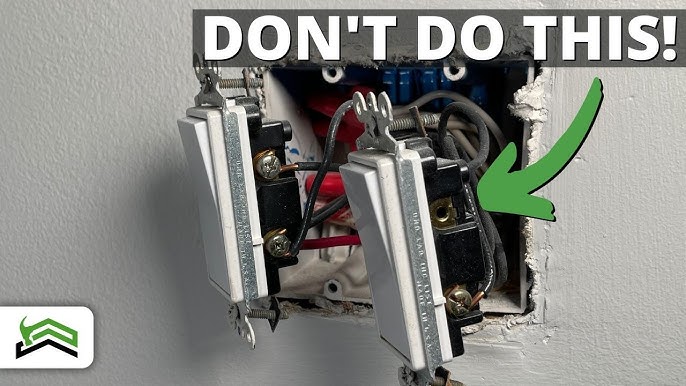
Electric shock is real. A light switch may look simple. It can still bite. Treat every wire like it is live until you test it.
Do this before anything else:
- Turn off the correct breaker. Do not rely on the wall switch.
- Lock or tape the panel so no one turns it back on.
- Use a non-contact voltage tester to confirm power is off.
- Wear safety glasses. Keep one hand in your pocket while probing.
- Use dry hands and a dry floor. Stand on a dry mat if needed.
As you learn How to Replace Light Switches, know a few code notes. Many U.S. codes require a neutral in the switch box for new work. Mark any white wire that carries hot with black tape. Bond the ground to the metal box and the switch.
If anything feels unclear, stop. Hire a licensed electrician. No project is worth a shock.
:max_bytes(150000):strip_icc()/how-to-replace-a-light-switch-1824670_07_newswitch_40431-69f2872f4a734dc89e3c2bed8711fc69.jpg)
Tools and Materials Checklist
Having the right kit makes the job fast and clean. It also helps you avoid damage.
Core tools:
- Non-contact voltage tester
- Multimeter or continuity tester
- Wire stripper for 14 and 12 AWG copper
- Insulated screwdrivers and needle-nose pliers
- Flashlight or headlamp
- Labeling tape and a marker
- Small level
Parts and supplies:
- Replacement switch rated for your circuit
- Matching wall plate
- Wire connectors rated for copper, twist-on or lever style
- Ground pigtail with green screw if using a metal box
- Short pieces of copper wire for pigtails
- Electrical tape
Pick dimmers that match your bulbs. Use LED-rated dimmers for LED lamps. That one choice solves many flicker issues when you start How to Replace Light Switches.

Light Switch Types and Wiring Basics
Good results start with the right part. Here are common switch types and what they do.
Common types:
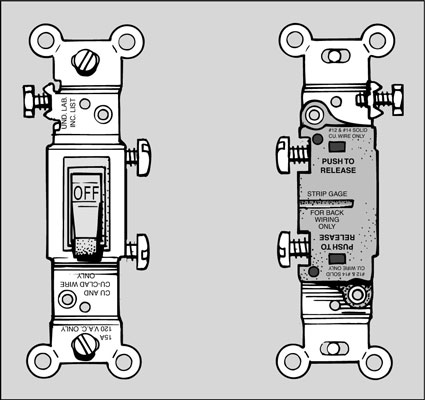
- Single-pole switch controls one light from one spot. It has two brass screws and a green ground.
- Three-way switch controls one light from two spots. It has one dark common screw, two brass traveler screws, and ground.
- Four-way switch sits between two three-way switches for three or more locations.
- Dimmer adjusts brightness. Get the right type for single-pole or three-way.
- Smart switch adds Wi‑Fi or Zigbee control. Many need a neutral wire.
- Double-pole switch is for 240-volt loads. Do not use it on standard 120-volt lights unless designed for that job.
Wire color basics in the U.S.:
- Hot is usually black. Red is also hot, often a traveler.
- Neutral is white. If a white carries hot in an old switch loop, it must be re-marked.
- Ground is bare copper or green.
Use screw terminals, not backstab holes. Screw lugs give a tighter, longer-lasting grip. This is a small detail that pays off when you learn How to Replace Light Switches with pro habits.
Step-by-Step: How to Replace Light Switches
Follow these steps for a standard single-pole switch. Adjust for three-way, four-way, dimmer, or smart models as shown below.
- Kill power at the breaker. Confirm with a non-contact tester.
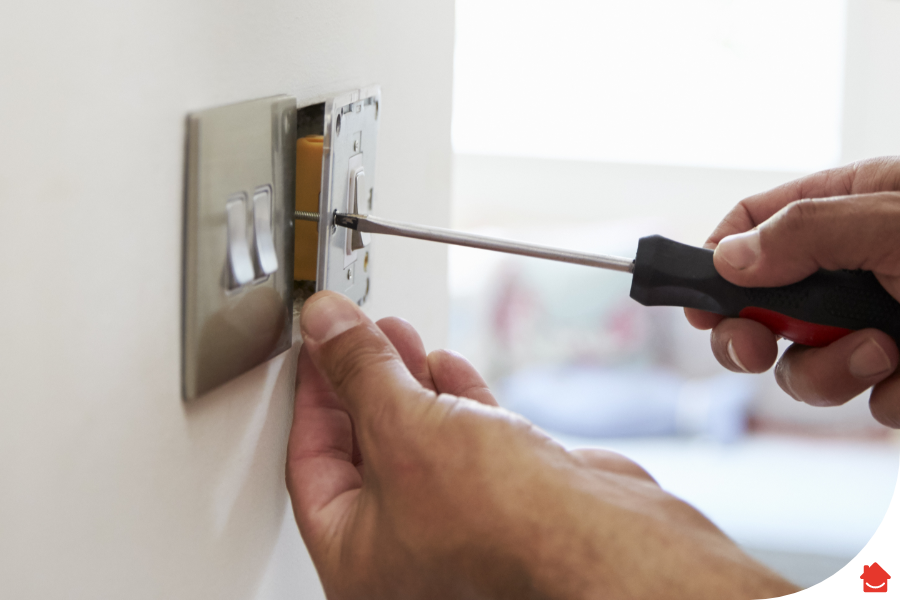
- Remove the wall plate. Keep screws in a cup so you do not lose them.
- Pull the switch forward. Do not strain the wires.
- Take a clear photo of the wiring. Label each wire with tape.
- Test again for power. Touch every wire with the tester.
- Loosen the side screws. Remove the wires from the old switch.
- Make a new ground pigtail if needed. Bond to the metal box and the switch green screw.
- Strip wire ends to the length on the switch gauge. Do not nick copper.
- Hook wires clockwise around screws. Tighten screws snug. No copper should show.
- Gently fold wires back into the box. Keep the ground low and away from the hot.
- Level the switch and set screws. Add the wall plate.
- Turn power on. Test the switch. If it fails, see the troubleshooting section.
Tips while you practice How to Replace Light Switches:
- Keep the common wire on a three-way on the dark screw only.
- Use pigtails to join one hot feed to more than one device.
- Cap any unused dimmer wire per the manual.
Three-way and Four-way Differences
For a three-way, find the common first. It is the wire that brings power in or sends power to the light. It was on the dark screw of the old switch. The two traveler wires go on the two same-color screws.
For a four-way, the two travelers from one side stay paired, and the two from the other side stay paired. Do not mix pairs. Use your photo and labels.
Dimmer Differences
Match the dimmer type to the circuit. Many dimmers have a black common lead, a red switched lead, a red with white stripe for three-way traveler, and green for ground. Cap any extra lead as the manual says. Use an LED-rated dimmer for LED bulbs to avoid flicker and buzz.
Smart Switch Differences
Most smart switches need line, load, neutral, and ground. If your box has no neutral, choose a no-neutral model that works with your bulbs, or have a neutral added. Follow the app to finish setup after wiring.

Testing and Troubleshooting After Replacement
Turn the breaker on. Flip the switch. If the light works and the plate sits flat, you are close to done.
If it does not work:
- Check the breaker and any GFCI upstream.
- For a three-way, re-check that the common is on the dark screw.
- Use a multimeter to confirm line hot to neutral shows about 120 volts.
- If the dimmer hums or the light flickers, use a compatible dimmer and bulbs.
After you learn How to Replace Light Switches, testing becomes second nature. Always test before you button up the room.

Common Mistakes To Avoid and Pro Tips
These missteps cause most callbacks. Avoid them and your work will look pro.
Mistakes to avoid:
- Using backstab holes instead of side screws
- Mixing up travelers on three-ways
- Forgetting to connect the ground
- Overfilling a box with big connectors
- Cutting wires too short to land on screws
Pro tips from years of doing How to Replace Light Switches:
- Photograph every stage. Labels save you on multi-gang boxes.
- Pre-bend wires into an accordion. The switch will seat flat.
- Use lever connectors for neat splices. They are fast and secure.
- Put a small level on the switch yoke for a straight plate.
- On old switch loops, re-mark the white that is actually hot.
A note on ratings: A 15-amp switch is fine on a 20-amp lighting circuit if the load is within the switch rating. That matches common U.S. code practice for lighting.
Cost, Codes, and When To Call a Pro
Plan your budget before you start How to Replace Light Switches. It helps you choose the right parts the first time.
Typical costs in the U.S.:
- Standard single-pole switch costs about 2 to 5 dollars
- Three-way switch costs about 4 to 10 dollars
- LED dimmer costs about 15 to 50 dollars
- Smart switch costs about 20 to 80 dollars
- Pro labor ranges from a minimum service fee to per-switch pricing
Code and safety notes:
- Many codes require a neutral in most new switch boxes.
- Re-identify any white that carries hot with tape.
- Bond metal boxes with a ground screw and pigtail.
- AFCI and GFCI rules may apply by room and jurisdiction.
Call a pro if you see aluminum wiring, knob-and-tube, burnt insulation, or crowded boxes. Call if you do not have a neutral but your smart switch needs one. Peace of mind is worth it when you weigh How to Replace Light Switches against risk.

Maintenance and Smart Upgrades
Once you learn How to Replace Light Switches, you can plan small upgrades that last.
Easy wins:
- Swap old dimmers for LED-rated models to stop flicker
- Add a pilot-light switch for dark halls
- Use screwless plates for a clean look
- Set smart scenes for bedtime or away mode
Check plates once a year. Warm plates or crackling sounds mean trouble. Turn power off and inspect connections.

Real-World Lessons From the Field
Here are two quick stories to guide your own How to Replace Light Switches work.
Three-way tangle:
I once found a three-way where the common and a traveler were swapped. The light worked from one spot only. I traced the common with a meter, put it on the dark screw, and it clicked. It took five minutes with labels. It would have taken an hour without them.
No neutral in the box:
A client wanted smart dimmers in a 1960s home. The switch boxes had no neutrals. We picked no-neutral smart dimmers that were rated for the exact LED bulbs they used. Where it still flickered, we moved one neutral from above on a legal path during a later remodel.
Frequently Asked Questions
Do I need to shut off the main breaker to replace a switch?
Usually no. Turn off the correct branch breaker and test for power. If the panel is not labeled, shut off the main, then test.
Can I use a 15-amp switch on a 20-amp circuit?
Yes for lighting circuits, if the controlled load is within the switch rating. This meets common U.S. code rules for general-use snap switches.
Why do my lights flicker after I install a dimmer?
The dimmer and bulbs may not be compatible. Use an LED-rated dimmer and listed bulbs that work with it.
How do I find the common wire on a three-way switch?
Look for the wire that was on the dark screw of the old switch. If unsure, test with a meter to find the constant hot or the switched leg to the light.
Can I replace a light switch without a ground wire?
If the system has no ground, code may allow a replacement switch, but you should not ignore grounding. Add a ground during future upgrades if possible.
How long does it take to replace a light switch?
A simple single-pole takes about 10 to 20 minutes. Three-ways, dimmers, and smart switches can take longer.
Conclusion
You now know the safe, simple path to a clean switch swap. Shut off power, label wires, land them on the right screws, and test. That is the heart of the job.
Start with one room and build skill. If you get stuck, pause and call a pro. Ready to try it today? Share your results, ask a question, or subscribe for more hands-on guides.